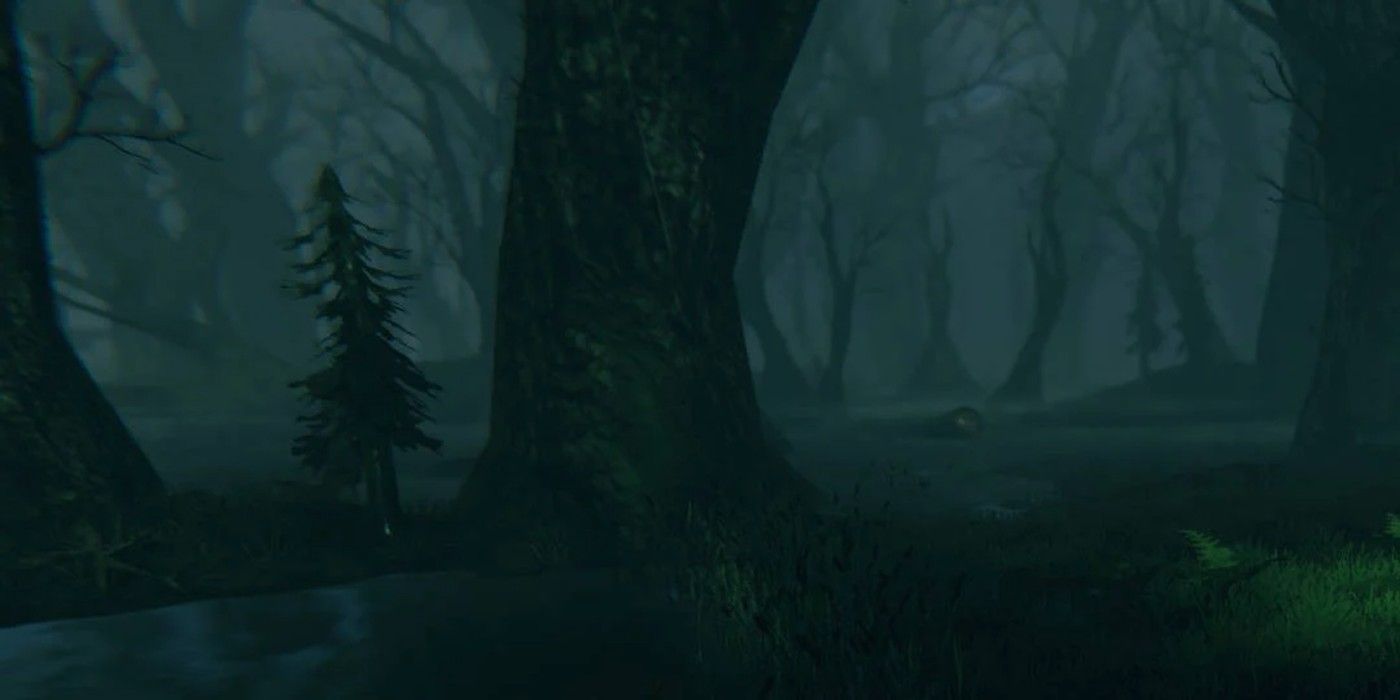
Valheim is one of the latest games to enter early access, and it’s taken the gaming world by storm. Players are enjoying their time learning all of the game’s mechanics and building bases across the procedurally generated world set in a Viking fantasy realm. There are a plethora of monsters and bosses to fight throughout Valheim‘s distinct biomes, which players can fight alongside their friends while building their own towns, fortresses, and castles. With the game still being worked on, there’s a lot more content to come in the future as mechanics are being updated and added frequently.
One way that players can experience this new game with friends is by creating a dedicated server, so that progress can be made without the server host’s presence. Luckily, there’s a way for fans to create one that doesn’t take very long! It’s possible that sometime during early access, or the full release, dedicated servers will be creatable within the game options. Until then, here’s how to set one up for a group of friends to play in.
Creating a Dedicated Server in Valheim

The first step to creating the server is to acquire the necessary tools. Search the SteamCMD, or Steam Console Client, online and download it. It’s zip file, which means that its contents need to be extracted. Once the files inside are accessible, open up SteamCMD’s folder and click on SteamCMD.exe. Doing so will place a few more files into the folder, so it may be wise to create a separate file to keep the contents for the server in one place.
In the SteamCMD.exe window, type “login anonymous” next to where it says Steam. Doing so prevents the creator from being logged out of their Steam account, so it’s only needed the first time. After it updates, the program will create another prompt, where players must type “+app_update 896660” next to Steam. From there, it will download the necessary files to the device. Once they’re in, SteamCMD, go to the Steam library and download the ‘Valheim Dedicated Server’ that comes with the game. This has the rest of the tools needed to establish the server.
That folder has all the information needed to set up the server, including necessary files and a manual To configure the private server, such as naming it and giving it a password, players will need to click on start_headless_server.bat and edit it. Doing so will pull up a screen with code pertaining to world information. Players will need to edit the server name, world name, and password in the specified areas (which is after name, world, and password are stated respectively). Once they’re set, open up the ports 2456-2458 on the device so other players can access the world. Lastly, click the start.bat file to finalize the process. After several minutes of loading, the Valheim world will be ready to explore!
Valheim is in Steam Early Access and is available for PC.


