The slow-motion scenes throughout Rebel Moon: Part One – A Child of Fire add a lot of fun visual flair to the film, but some of these worked better than others. Director Zack Snyder is known for his use of slow-mo as well as many other “Snyder-isms” that create a signature style and make his films uniquely his. The use of slow-mo, along with several other “Snyder techniques” and tropes, shows why Rebel Moon is one of the most Zack Snyder movies ever made.
Snyder had full creative control over Rebel Moon, meaning that the use of slow-mo as well as other techniques made the film closely aligned with Snyder’s specific vision. More of Snyder’s distinctive vision will be in the Rebel Moon director’s cut as well as the upcoming Rebel Moon Part 2. The slow-mo in Rebel Moon was used in action scenes as well as in moments without much action, instead enhancing the emotion and suspense of key moments.
Related
Rebel Moon Ending Explained In Full, Including Every Scene That Sets Up Part Two
Rebel Moon, Zack Snyder’s new epic Netflix space fantasy sets up a new sci-fi universe and ends with a cliffhanger setting up part 2.
17 Admiral Atticus Noble’s Survival
The final slow-mo scene in Rebel Moon hints at what’s to come in the sequel.
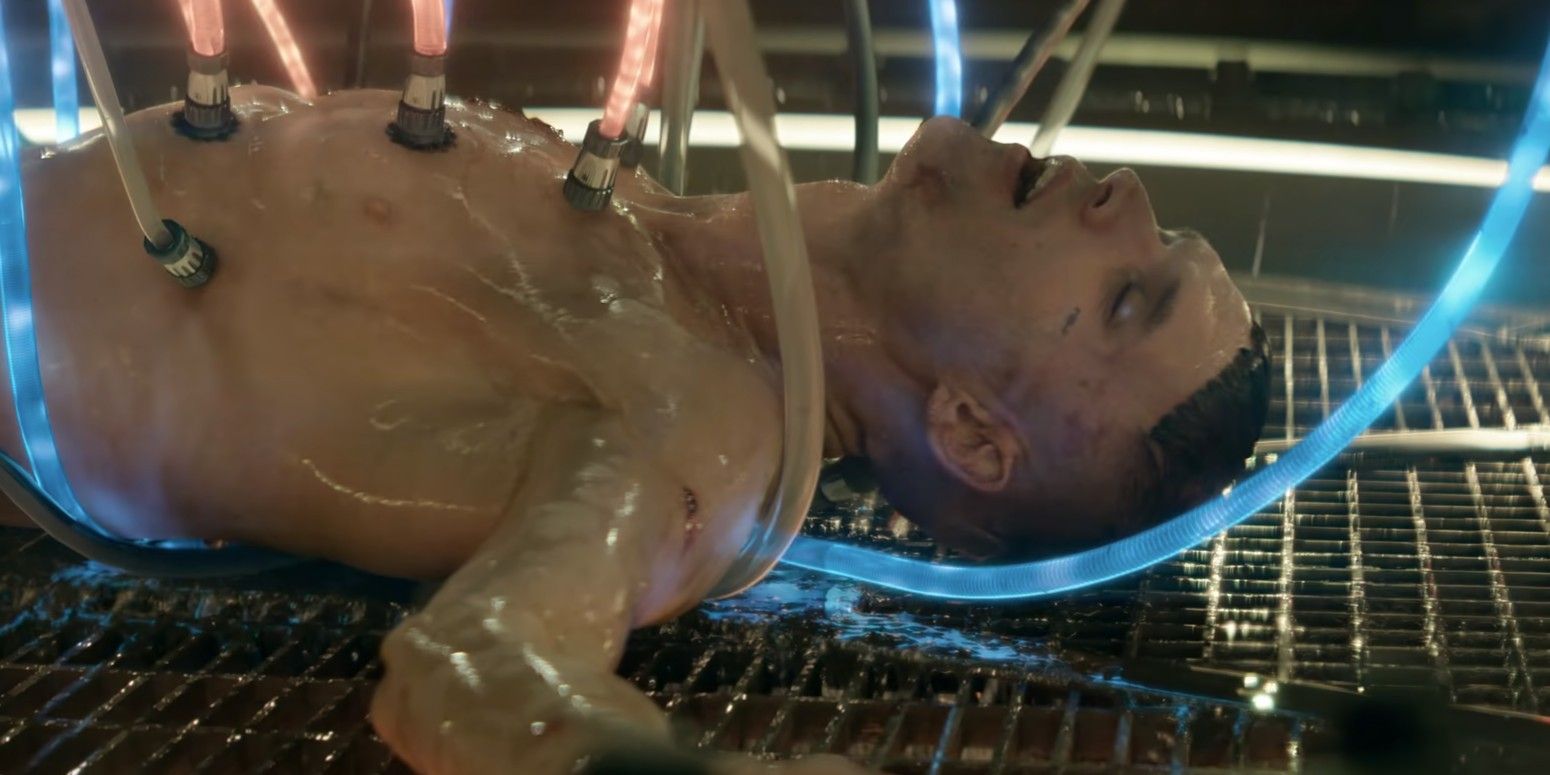
In the final moments of the film, Noble is repaired by an array of tubes throughout his semi-bionic body and by floating in a suspended, watery capsule. The slow-mo highlights the way Noble smiles in relief after being brought back to life. This unnerving moment illustrates Noble’s gleefully dangerous attitude and how intimidating Rebel Moon‘s Noble is, meaning he will be a powerful and tricky antagonist for the characters to face off against in Rebel Moon: Part Two – The Scargiver.
16 The Princess Issa Flashback
This scene highlights Issa’s innocence and Kora’s awe of her.
The slow-mo used in this scene highlights the mystical wonder of Issa’s power to seemingly bring things back from the dead. Bathed in a snowy, white landscape and cloaked in a white dress, the scene also depicts Issa’s innocence. It illustrates Kora’s awe of Princess Issa’s abilities and her almost maternal desire to protect her. It’s a tender and lovely scene, but it’s not as impactful as the other slow-mo scenes in Rebel Moon.
15 Arthelais’ Graduation
This scene gives insight into Kora’s former dedication to serving the Realm.
This moment gives a startling look at Kora’s former dedication to the Realm. It’s chilling to see her cheering alongside her fellow soldiers, as Balisarius smiles at her proudly and as the king delivers a rousing speech. While it’s disturbing to see Kora as the hardened solider Arthelais, this scene is not as emotional or action-packed as Rebel Moon’s other slow-mo sequences.
14 The Rebels Landing On Castor, A Moon Of Pollux
This grandiose shot highlights the power of the growing rebel force.
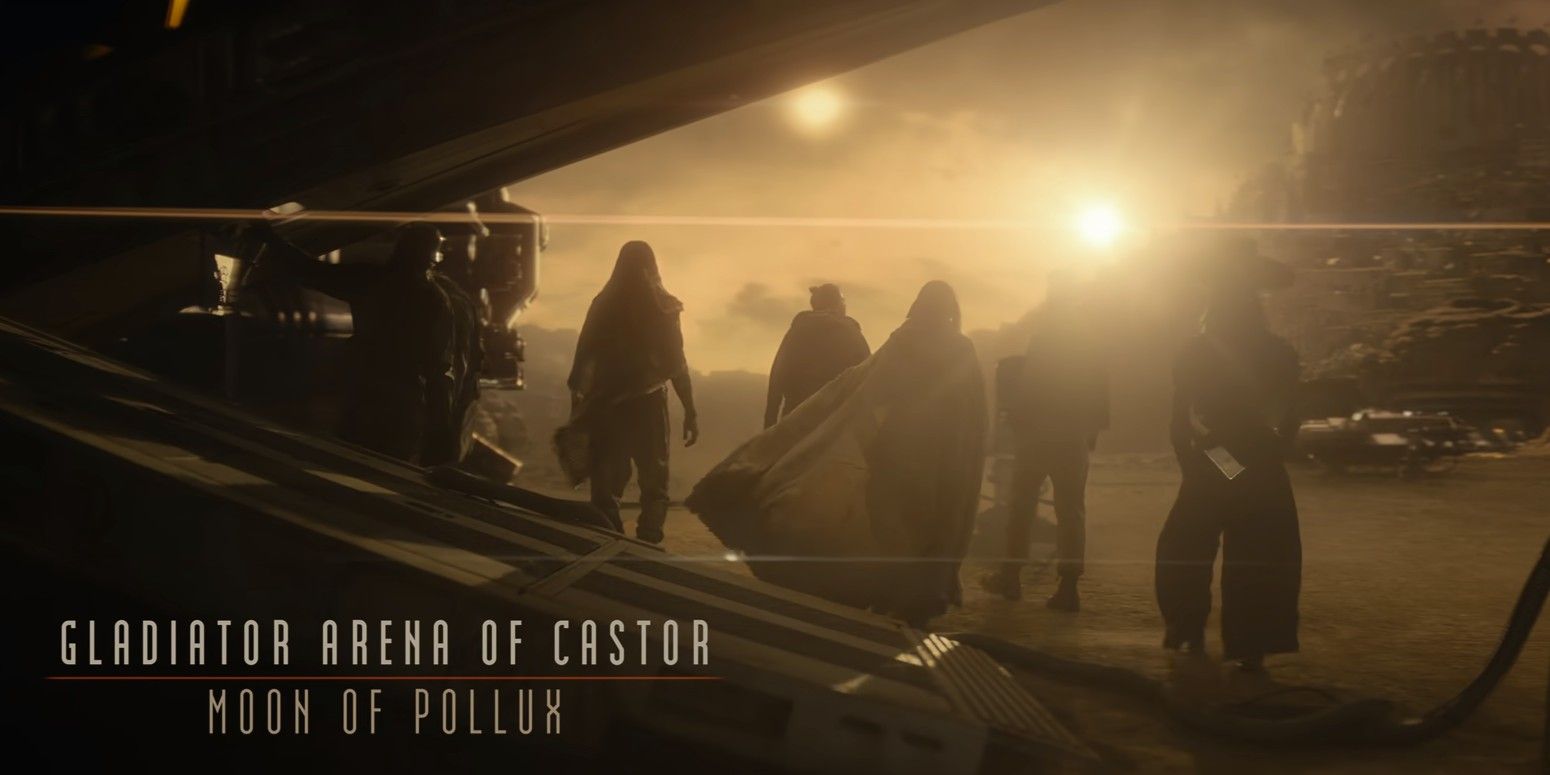
This shot is simple and short, making it less impactful than other slow-mo scenes in the movie. Despite this, the Rebels landing on Castor looks beautiful, especially with how Kora’s cape billows in the breeze as the sun shines. Her fellow rebels stand alongside each other as a united front, making this a memorable scene that illustrates the quiet power of this band of rebels.
13 Kora Battling Imperial Forces
Kora showcases her fighting prowess once again towards the end of the film.
In one of the final action sequences in Rebel Moon, slow-mo is used once again to showcase Kora’s skill as a fighter. The sequence is brief, making it less effective at spotlighting Kora’s abilities than other slow-mo scenes. Even so, it is quite nail-biting and tense as gun blasts whiz past Kora.
Related
Rebel Moon 2 First Image Shows Zack Snyder’s Versions Of Lightsabers & Blasters In Action
The first image has been released from Zack Snyder’s Rebel Moon – Part Two: The Scargiver, revealing a new look at the movie’s lightsaber weapon.
12 The Falling Seeds on Veldt
The first slow-mo scene in the film sets the stage for the emotion to come.
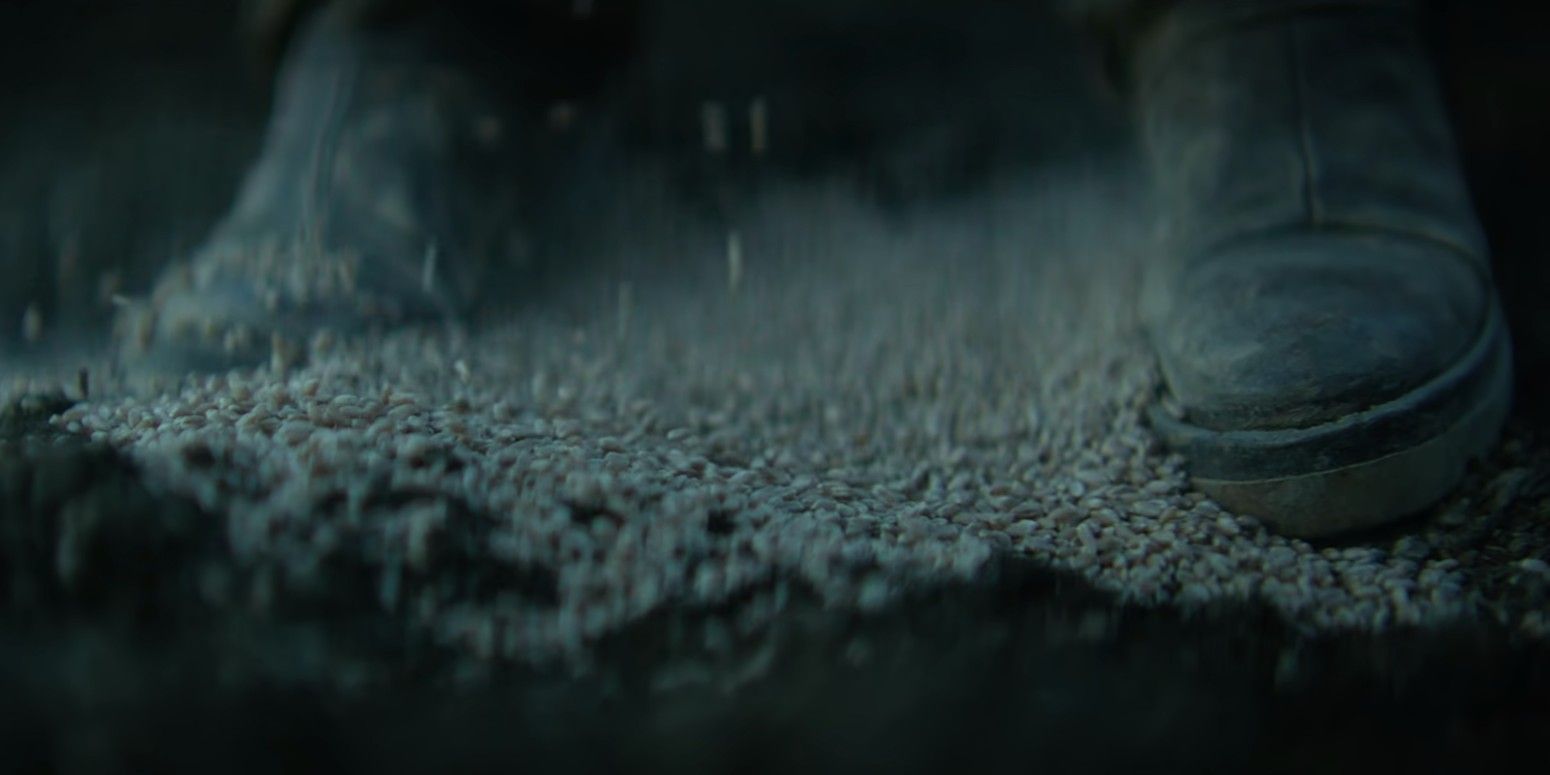
Slow-mo is first used in Rebel Moon when Kora, Sam, and other farmers spread seeds onto the soil. At first, the slow-mo highlights the idyllic nature of their lives on Veldt. Later, slow-mo is used again when Kora drops a pile of seeds. This emphasizes her terror upon seeing the King’s Gaze ship arrive, a sight which she knows means only death. In this way, the slow-mo effectively showcases the contrast between the peaceful lives of the people of Veldt and the danger the Imperium will rain upon them.
11 Kora Petting The Bennu
This brief moment highlights Kora’s bravery.
After Tarak tames and rides the bennu, he returns, flying over the other characters. The others crouch in fear, while Kora remains standing, unflinching. She smiles as she gently pets one of the bennu’s wings, admiring it as it flies by. This simple moment reveals a lot about Kora’s personality. Perhaps after all the horror she has seen in her life, a massive and beautiful creature, like the bennu, inspires only awe in Kora rather than fear. The slow-mo highlights her courage and awe at that moment.
10 Noble Killing King Levitica
Noble’s brutality is showcased in this scene.
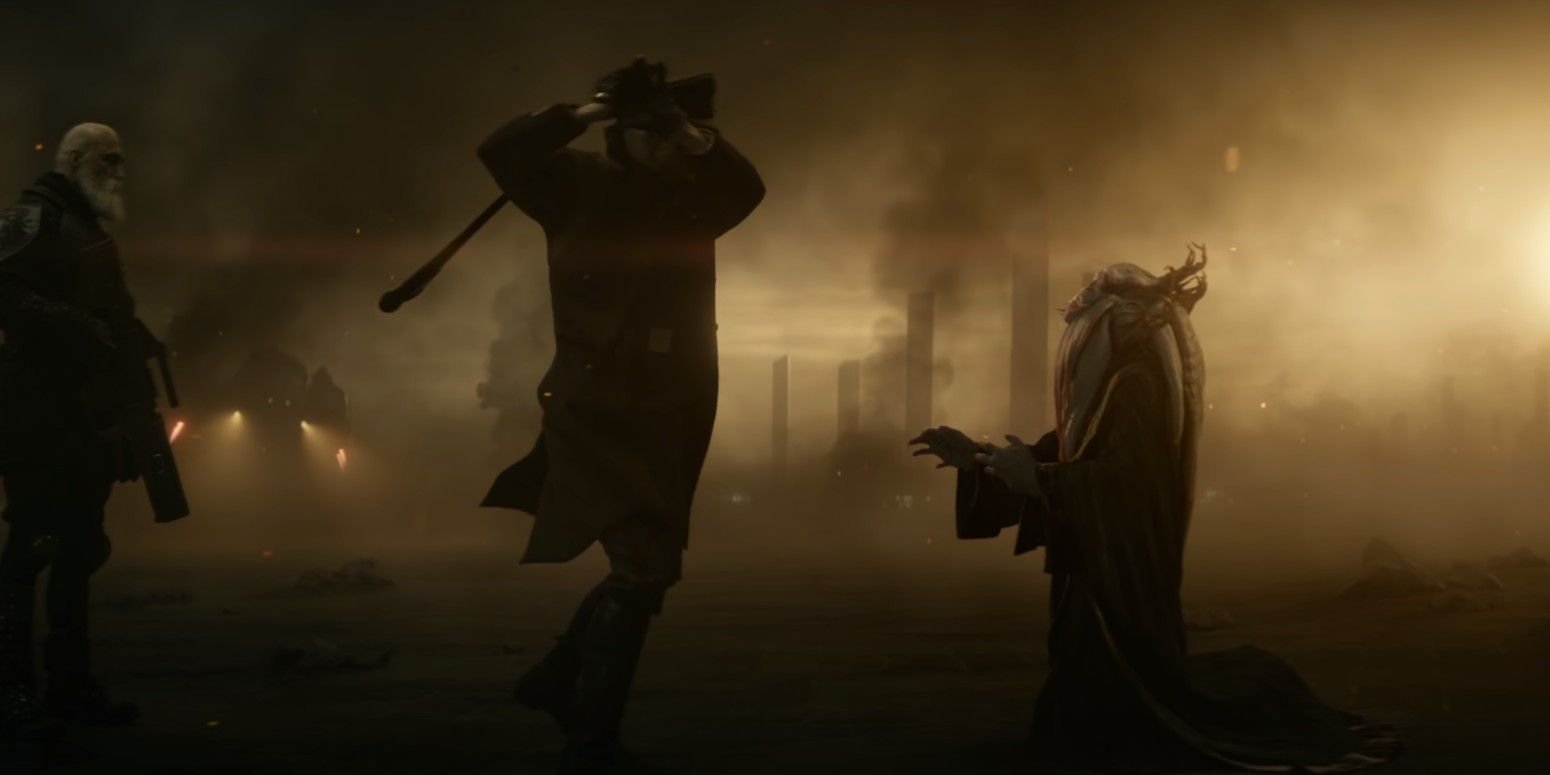
Noble’s ruthlessness is clear throughout Rebel Moon, as he kills people without emotion and hesitation. This scene is another example of this, but what makes it stand out is that the slow-mo highlights Noble’s brutality. Seeing Levitica on his knees as Noble viciously kills him is stomach-churning, making this a short yet powerful use of slow-mo.
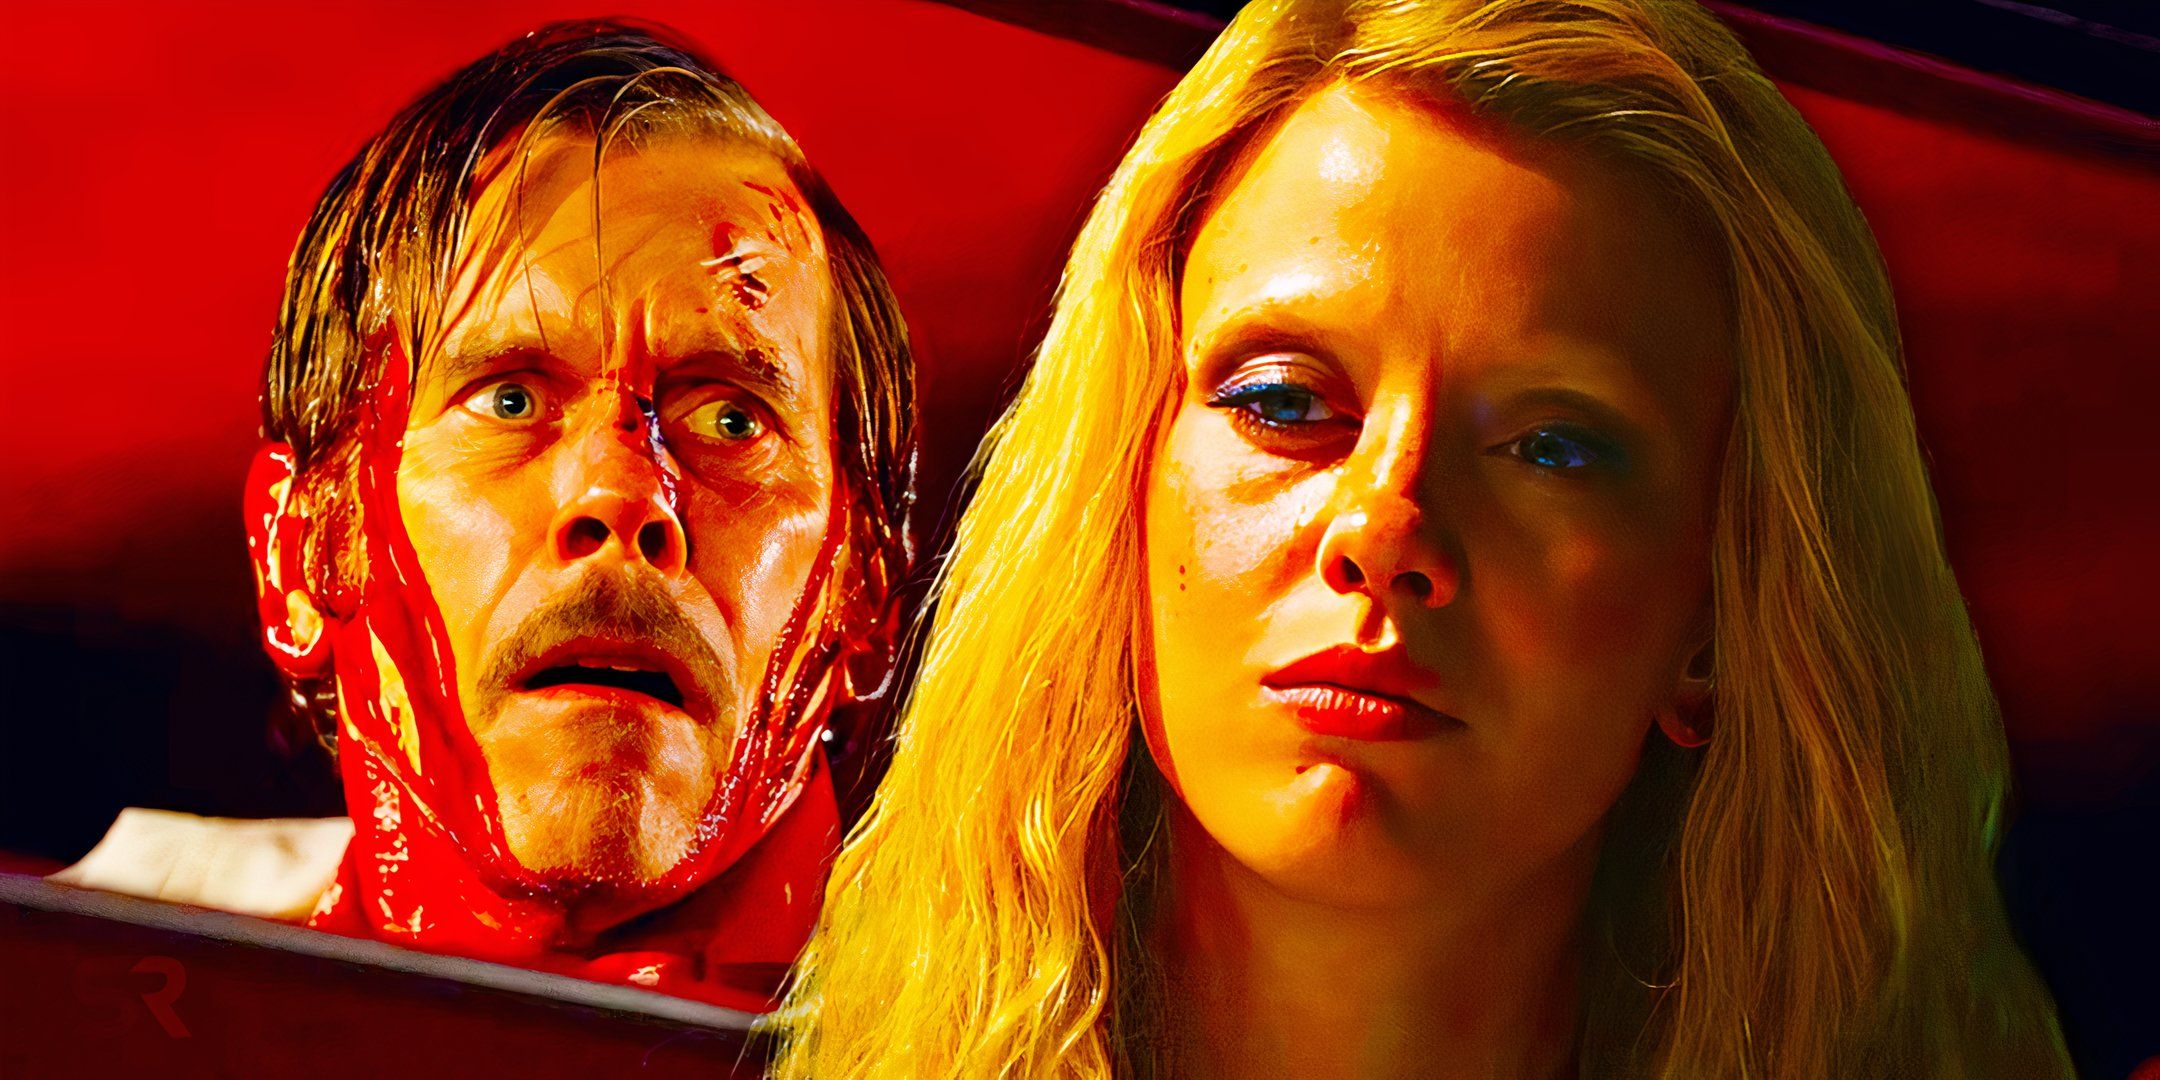
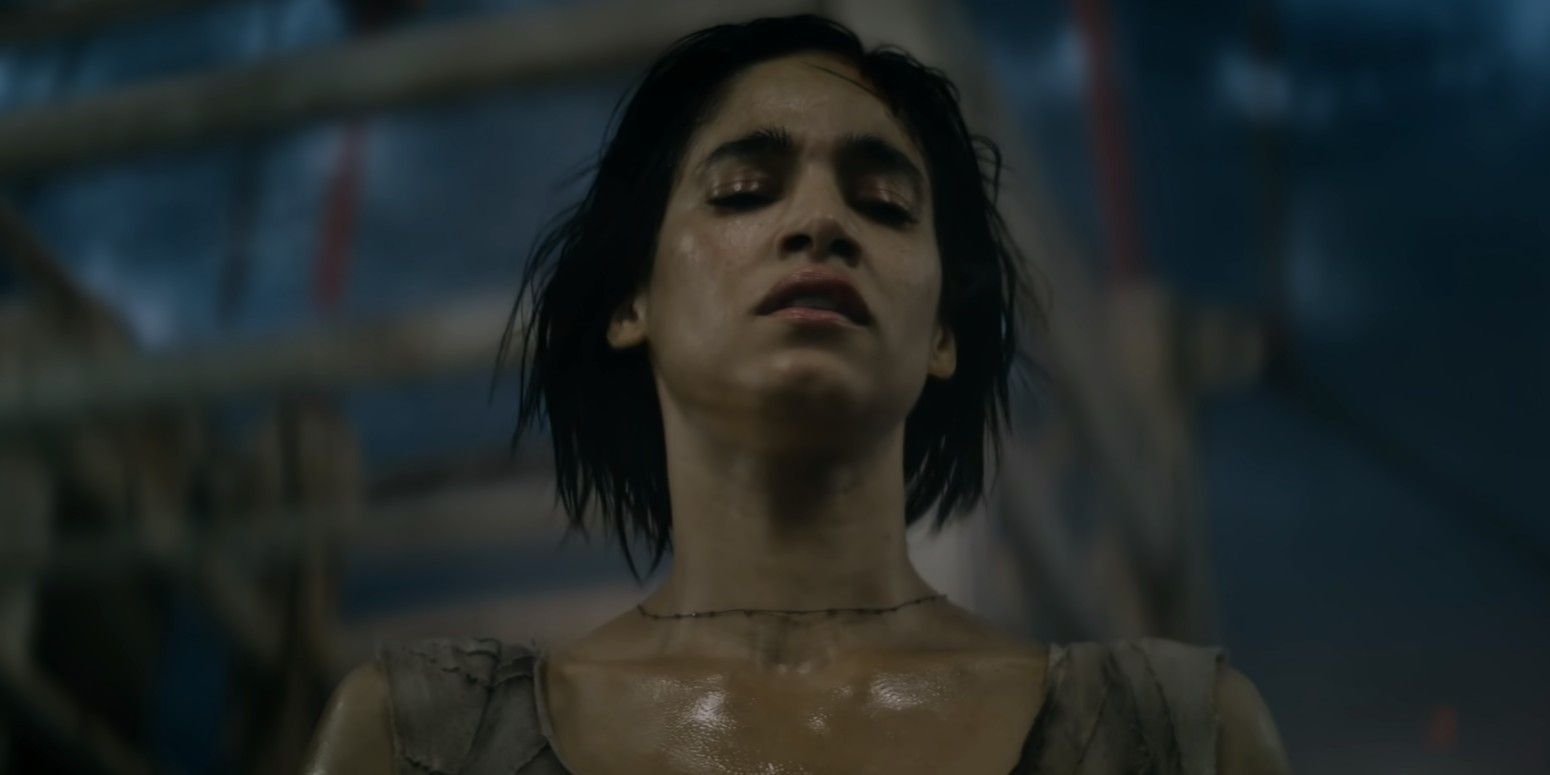
9 Kora’s Tragic Childhood
This emotional flashback offers a look into the terror of Kora’s past.
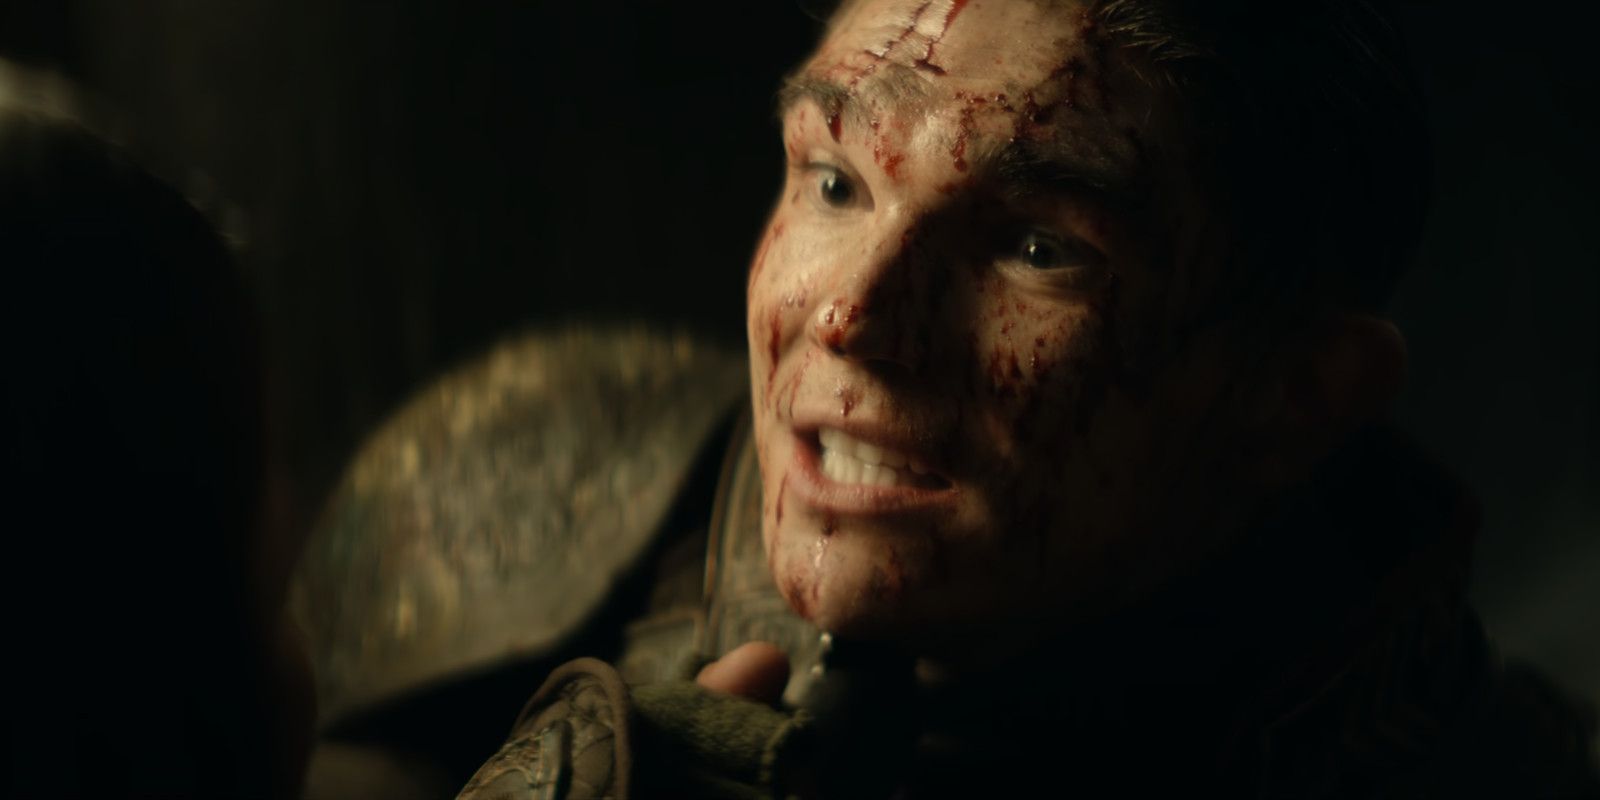
As Kora recounts her dark backstory to Gunnar, much of the accompanying flashback is in slow-mo. The most memorable part of this sequence is Kora’s encounter with Balisarius. The slow-mo highlights Balisarius’ unhinged evil as he challenges Kora to kill him, smiling with blood covering his face. The slow-mo also effectively showcases Kora’s fear and the tragedy of what her life became because of the Motherworld, and specifically, because of Balisarius.
8 Darrian Bloodaxe’s Final Stand
Bloodaxe courageously sacrifices himself for the rebellion.
As the pilot of the King’s Gaze is shooting down members of Bloodaxe’s rebellion in the final, major fight sequence in Rebel Moon, Bloodaxe runs and jumps onto the ship to save them. He’s shot several times before he finally kills the pilot, tears streaming down his face as he crashes the ship. This powerful scene captures Bloodaxe’s emotion as he commits himself to save his fellow rebels and when he realizes that he’s dying.
Related
Rebel Moon Took A Massive Risk With Ray Fisher’s Darrian Bloodaxe, But It Can Still Pay Off In Part 2
Rebel Moon – Part 1: A Child of Fire took a massive risk in killing off Darrian Bloodaxe, but his death could be rectified in the upcoming sequel.
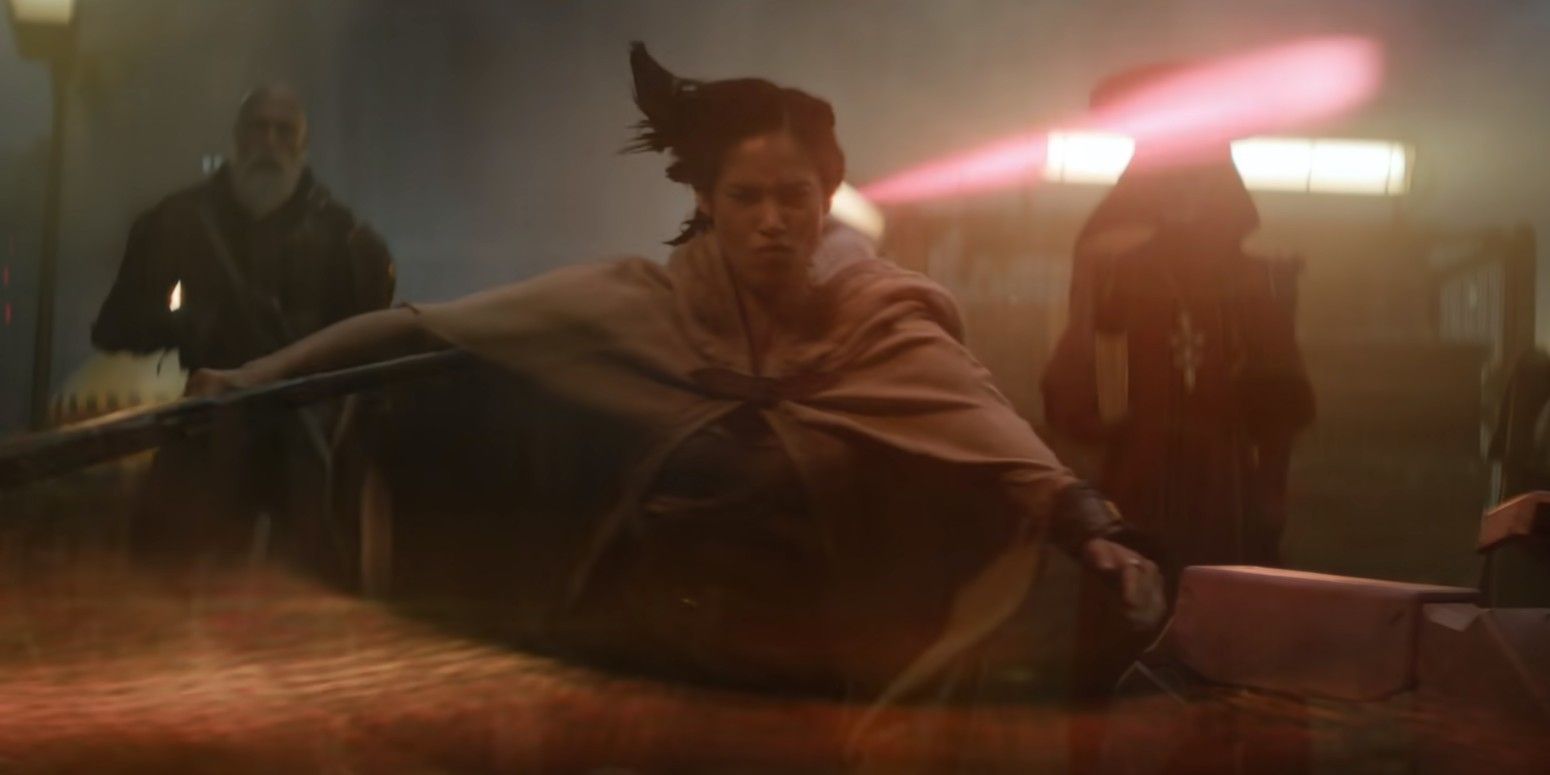
7 Kora Running To Fight Noble
Kora races against time in this tense scene.
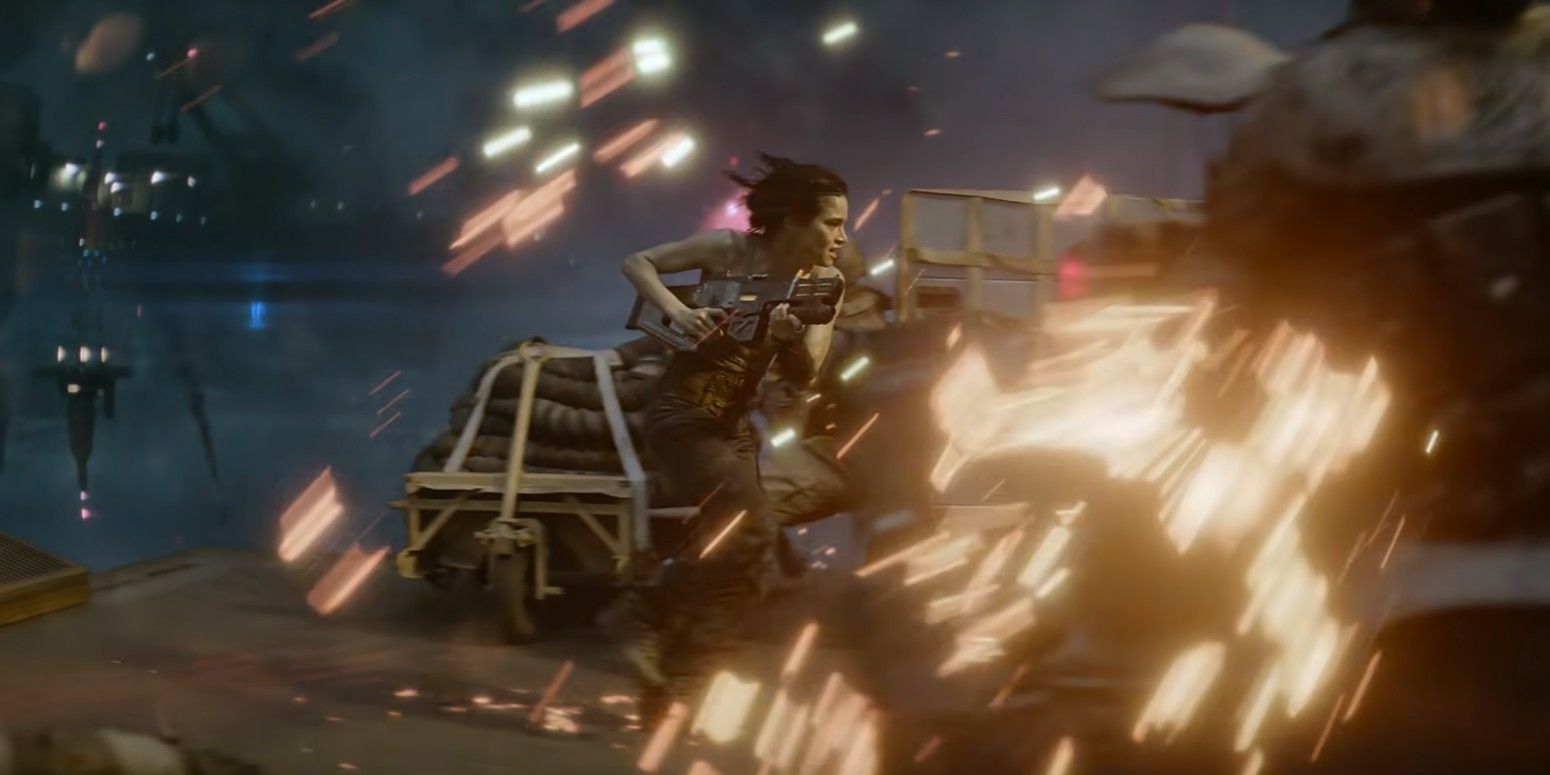
After Bloodaxe crashes the King’s Gaze into a bridge, Kora realizes she must run to face off against Noble before the bridge collapses, separating them. This tense and beautiful sequence follows Kora as she races against the ship, shooting down imperial soldiers, dodging bullets, and sliding out of the ship’s path just in time. While it’s not the best show of Kora’s abilities in the film, it captures the tension of Kora’s race against time while also highlighting some of her fighting skills.
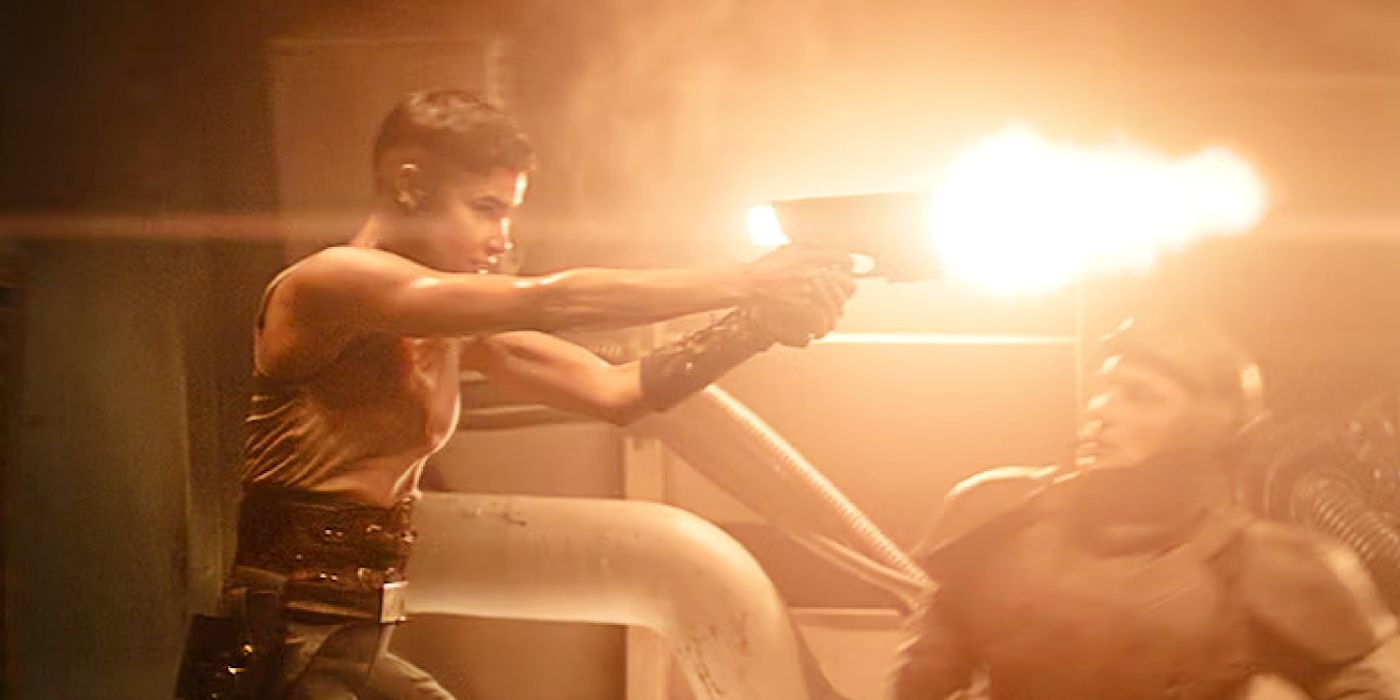
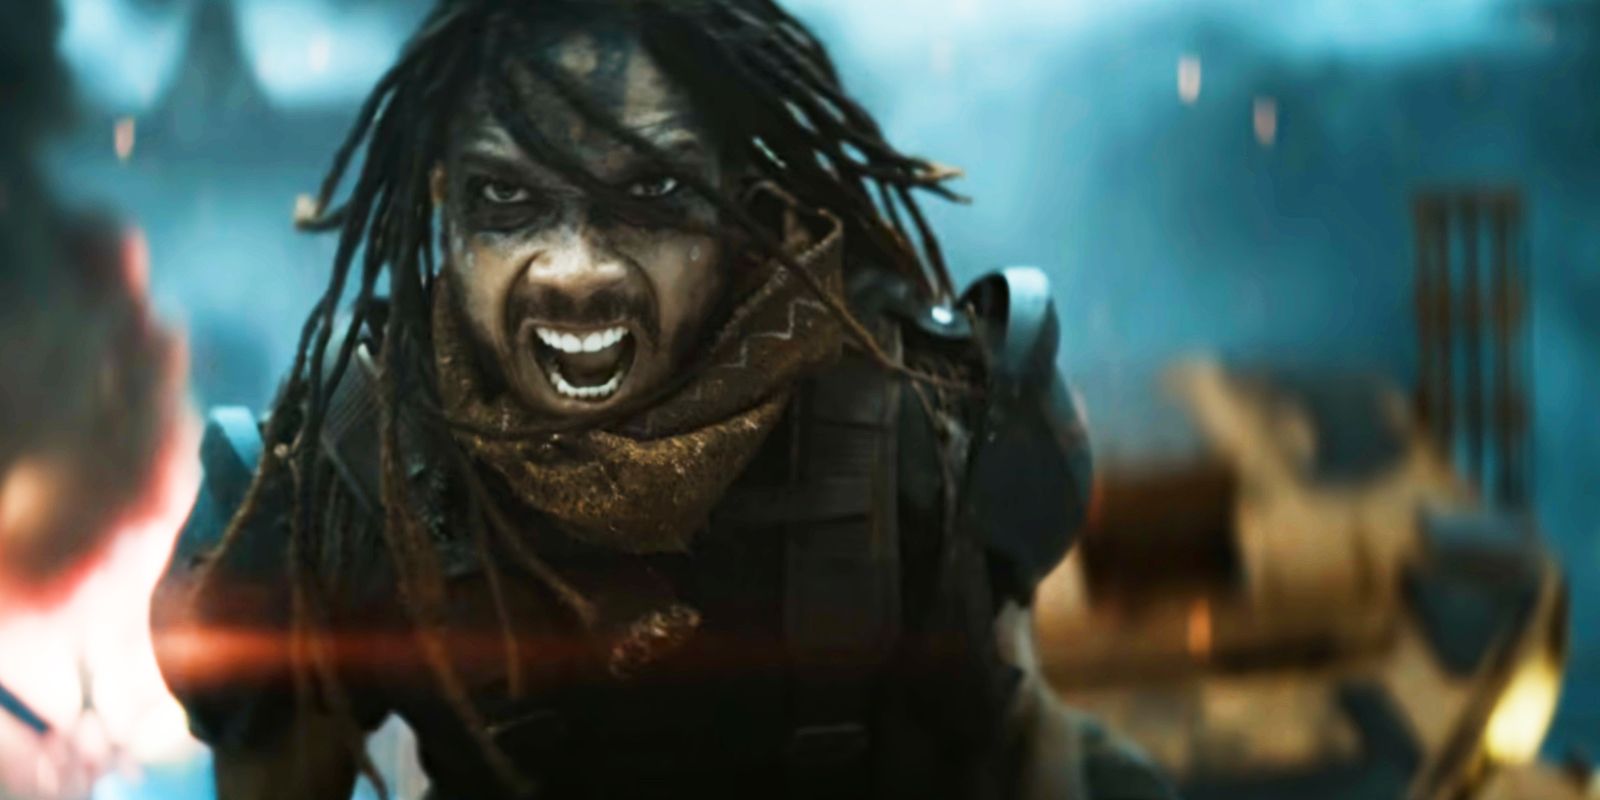
6 Arthelais Conquering Worlds
Viewers gain more insight into the trauma of Kora’s past.
In another flashback sequence, Kora, known then as Arthelais, fights in a brutal battle to capture a planet for the Imperium. She lets out a war cry as she shoots enemies before planting the Motherworld’s flag on the ground. This intense sequence gives a startling look into Kora’s previous life fighting, and killing, as part of the same imperial forces who killed her family. The slow-mo highlights the trauma she experienced in warfare and her intense commitment to the Imperium’s violent cause.
5 Nemesis Fighting Harmada
The slow-mo highlights Nemesis’ fighting skills.
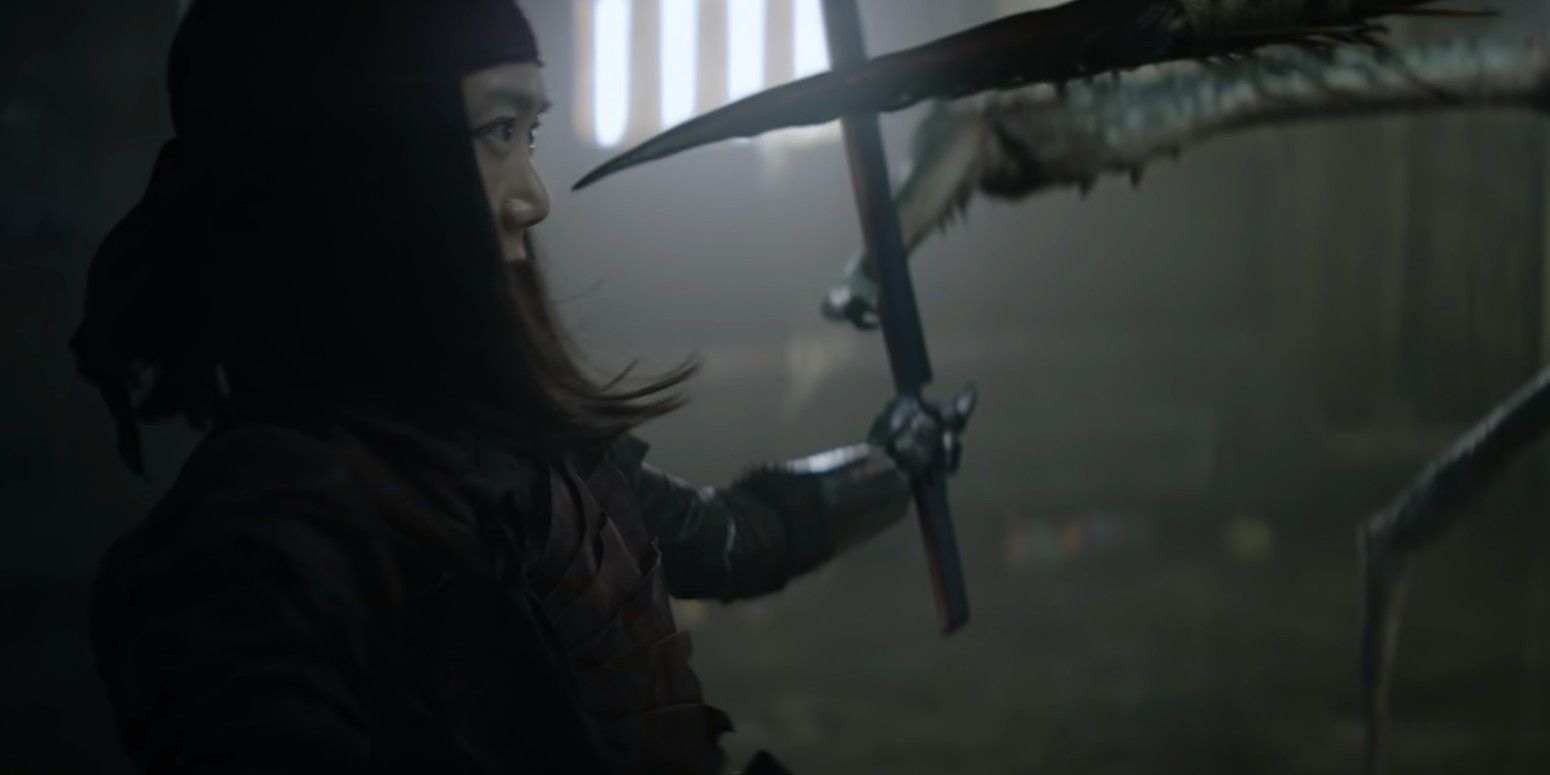
At several points during Nemesis’ fight against the spider creature Harmada, slow-mo is used to highlight Nemesis’ fighting prowess. It showcases her skill, such as when she slides underneath Haramada to slice her and when she cuts one of Haramada’s legs off to free herself. Not many of Nemesis’ fighting skills are seen in Rebel Moon, but what is seen is only enhanced with the slow-mo, which emphasizes her particularly impressive feats.
4 Kora And Gunnar’s Bar Fight
The slow-mo in this scene adds both comedy and suspense.
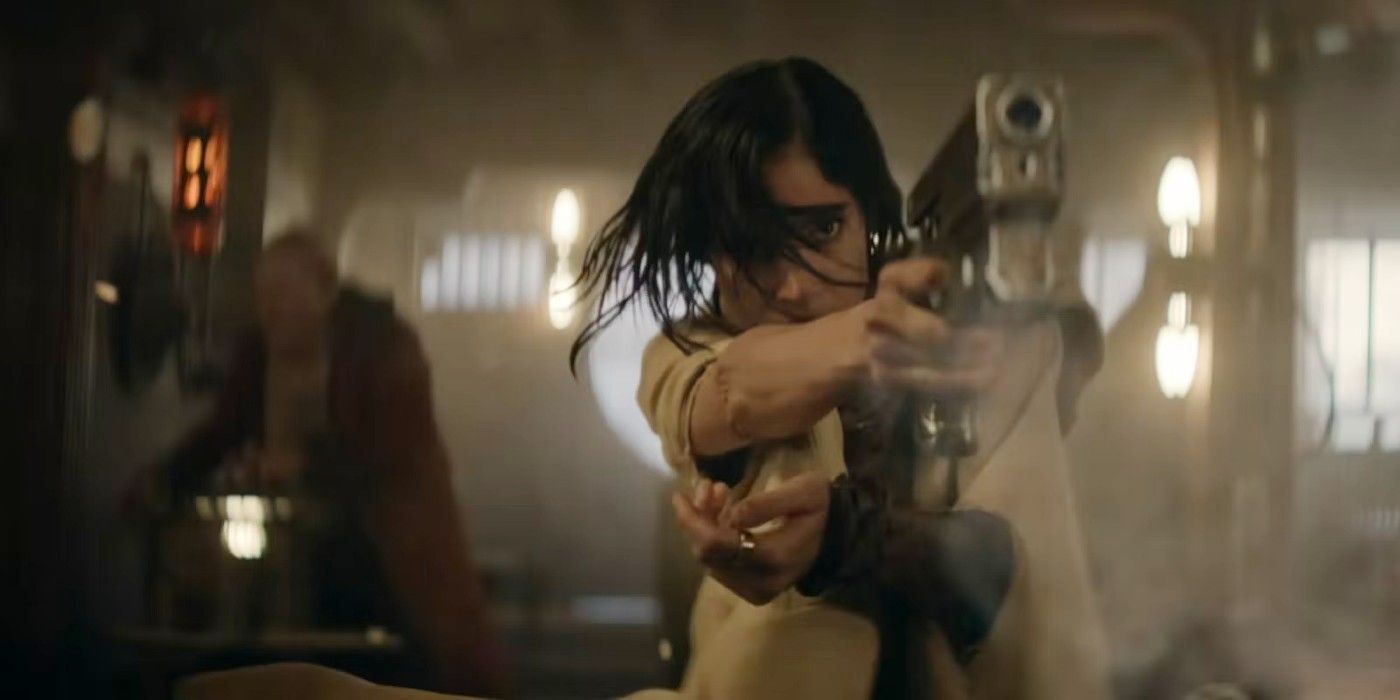
Slow-mo is used throughout Kora and Gunnar’s bar fight in Rebel Moon for both comedic and dramatic effects. It successfully highlights Gunnar’s fear when the fight begins and Kora saving him, a brief moment of levity during the fight. The slow-mo also highlights Kora’s fighting skills, being used to depict moments when she pulls off especially impressive moves, such as when she swipes an enemy off their feet. In this way, the slow-mo is an especially fun and interesting part of this fight.
3 Kora Defending Sam
The first major action sequence in Rebel Moon is the best show of Kora’s talents.
Kora proves what she’s capable of, to the surprise of everyone in her Veldt farming community, when she fights off the imperial soldiers who attack Sam. This stunning and incredible scene effectively shows off Kora’s fighting skills. She flips over one soldier, uses a variety of different weapons during the fight, can fight off multiple soldiers at once, and even feigns fear at the beginning of the fight to throw them off guard. The slow-mo highlights how Kora defeats the soldiers with ease and style, making it one of the most memorable slo-mo scenes in Rebel Moon and setting the tone for the movie.
2 Kora Defeating Noble
The slow-mo gives this scene a memorable brutality.
The exciting final battle between Kora and Noble towards the end of the film ends when Kora delivers a final blow to Noble’s face. Slow-mo captures his teeth as they fly out of his mouth and as he falls off the platform they were fighting on, while Kora looks on. This is one of the best slow-mo scenes in Rebel Moon because of the amount of detail it offers, although it never feels comical or silly, which makes Kora’s victory more special.
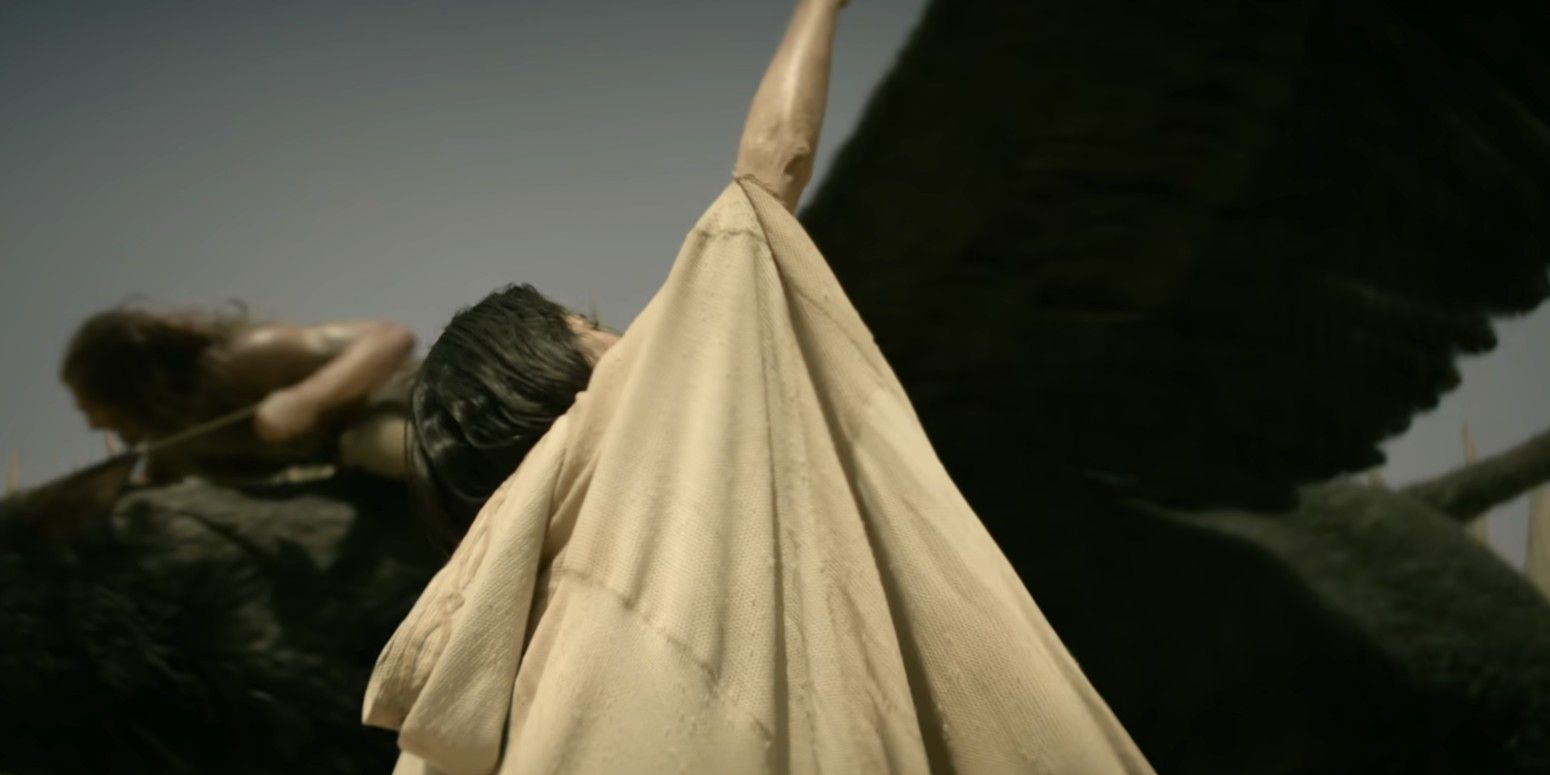
1 Tarak Taming The Bennu
This breathtaking moment is the best use of slow-mo in Rebel Moon.
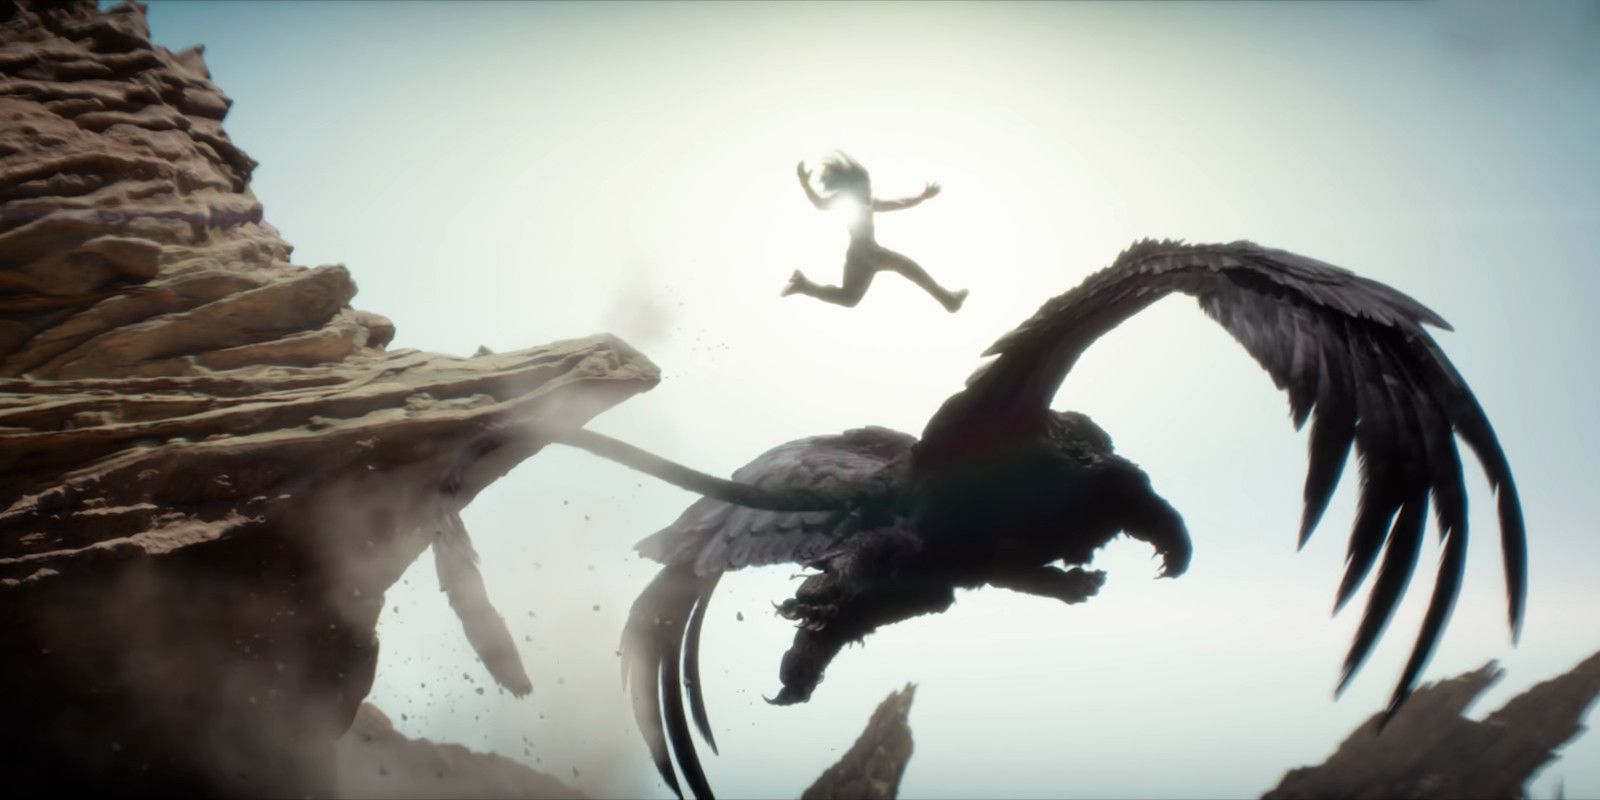
The scene where Tarak tames the bennu is heartfelt and sweet. While he’s riding the creature, however, it becomes clear she wants to challenge Tarak, or perhaps, play with him. She intentionally knocks him onto a cliff edge and slow-mo is used to capture his dramatic race to jump back onto the bennu before she flies away, stranding him. The shot is breathtaking and stunningly beautiful, conjuring images of the Greek myth of Icarus flying too close to the sun. Undoubtedly, Tarak taming the bennu is the best slow-mo scene in Rebel Moon: Part One – A Child of Fire.

Rebel Moon
- Release Date
- December 22, 2023
- Director
- Zack Snyder
- Cast
- Djimon Hounsou , Sofia Boutella , Charlotte Maggi , Ray Fisher , Jena Malone , E. Duffy , Staz Nair , Doona Bae , Sky Yang , Charlie Hunnam , Cleopatra Coleman
- Rating
- PG-13
- Genres
- Action , Adventure , Fantasy , Sci-Fi
- Writers
- Shay Hatten , Kurt Johnstad , Zack Snyder