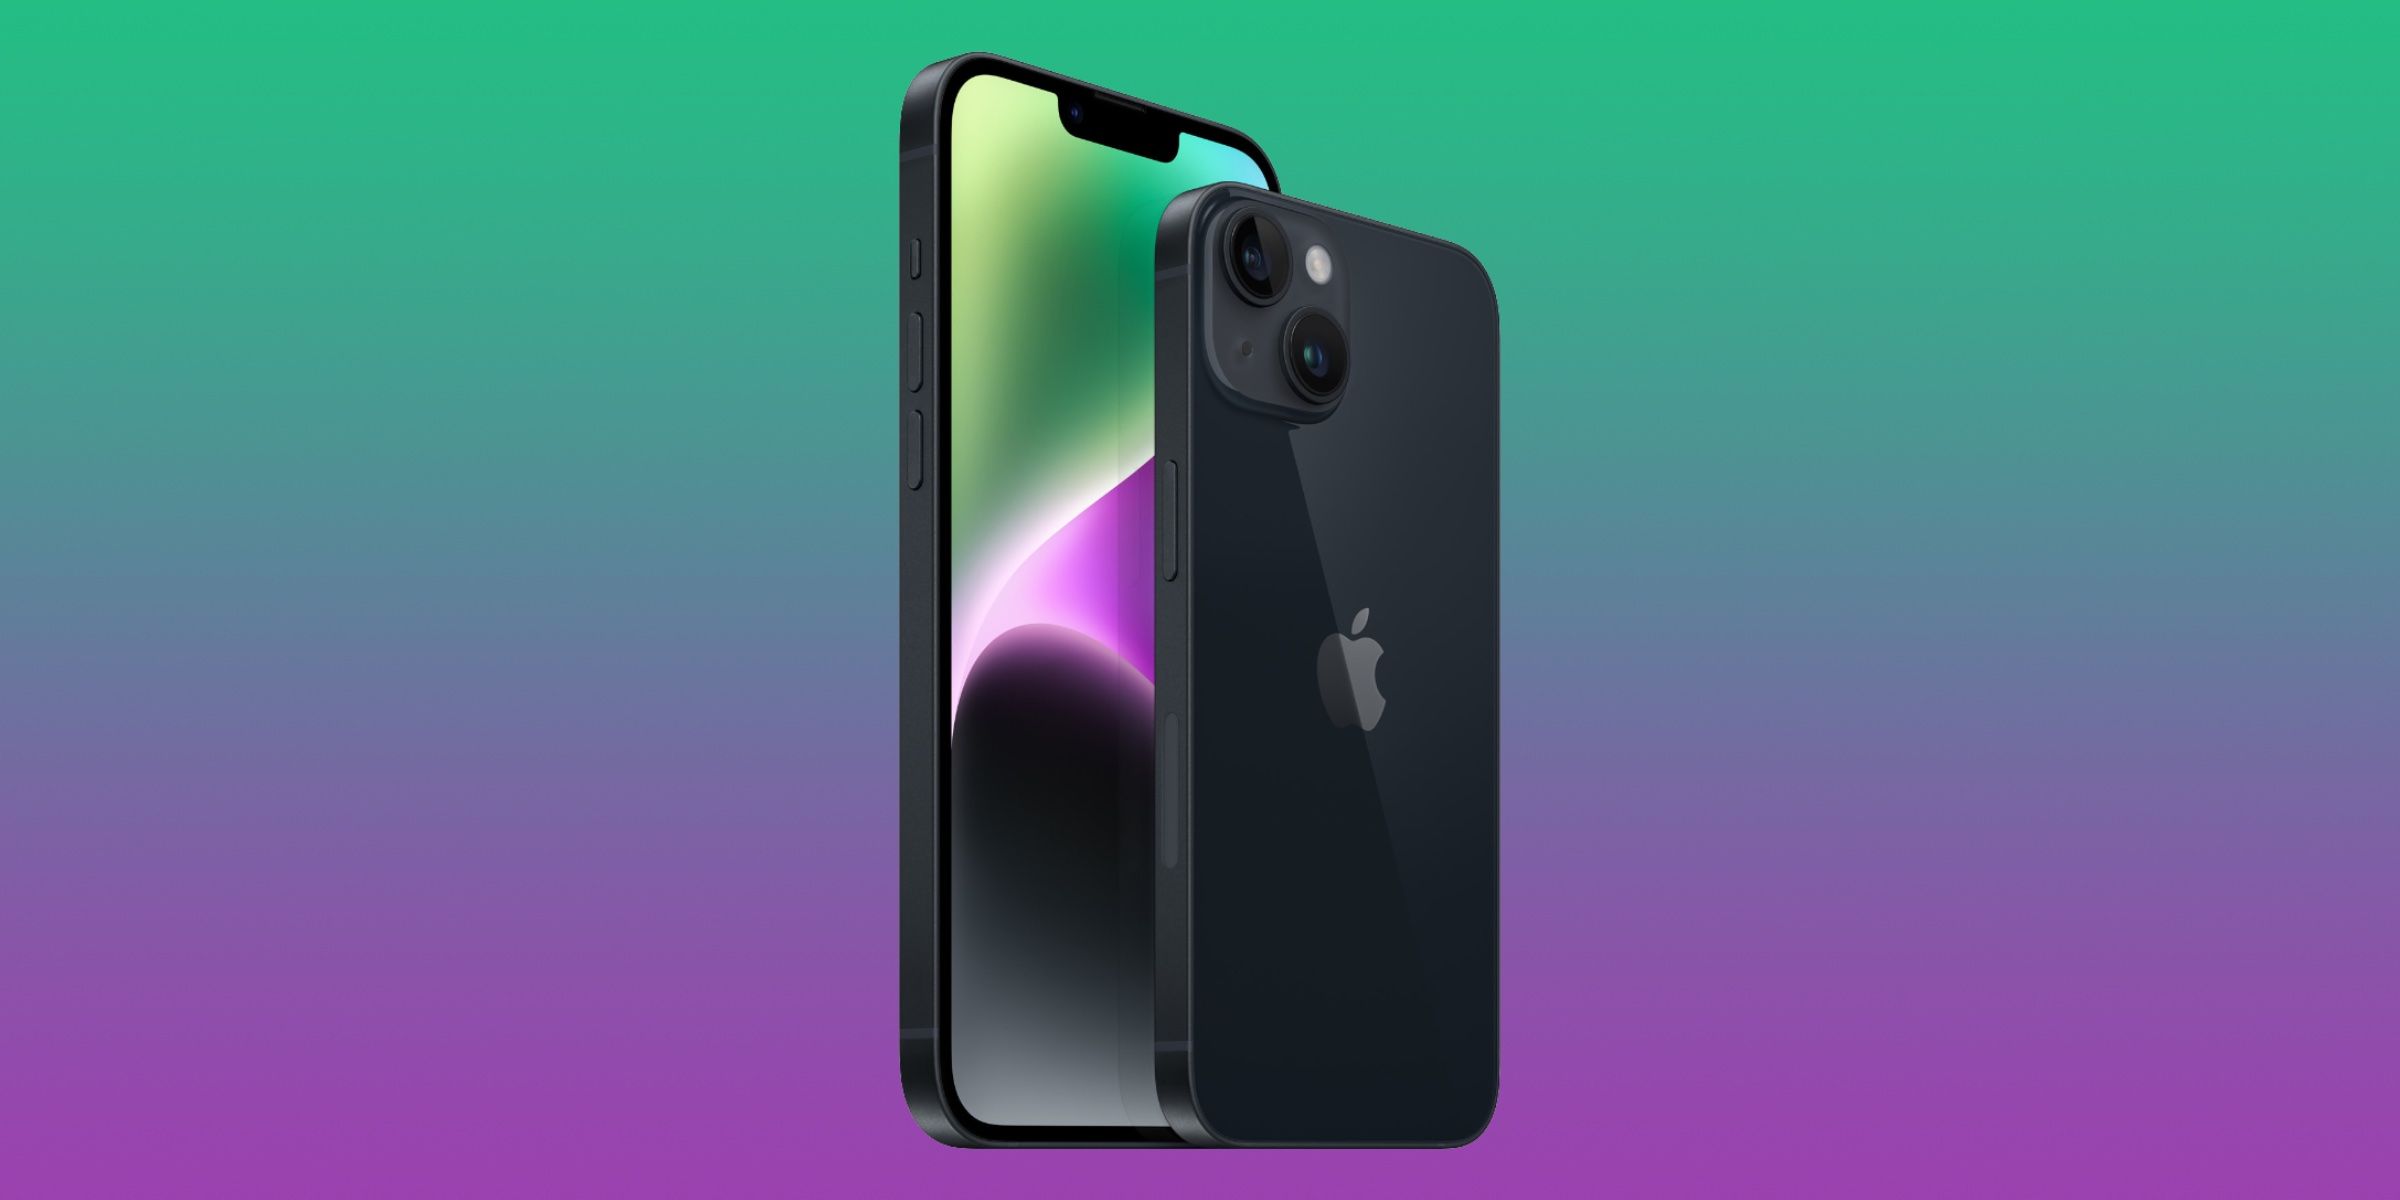
Taking screenshots on the new iPhone 14 is incredibly easy, just like it should be. That said, users might need some help if they are switching from an Android device or upgrading from an older iPhone with a home button. While the basic method to take a screenshot on an Android phone and an iPhone is essentially the same, Apple provides a couple of extra ways to capture what’s on the screen.
Although iOS is known to be a user-friendly operating system, some basic functions are unnecessarily complicated. For instance, there’s no straightforward way to restart an iPhone, with additional steps needed to do this. That said, taking screenshots is relatively straightforward and easy to do once users know which buttons to press.
As the official support page mentions, iPhone 14 users will need to simultaneously press the side/power button and the volume up button to take a screenshot. Once done, the screenshot will appear in the lower-left corner of the display as a floating thumbnail. Tap on the thumbnail to view the screenshot, use the tools to edit it, and share it directly to other apps by tapping the share button in the top right corner. When taking a screenshot of a website, users can open the thumbnail and tap ‘Full Page‘ followed by the crop tool to expand the view and take a scrolling screenshot. When finished, tap ‘Done’ in the top left corner to save the screenshot. Users get multiple options to save a screenshot – they can save it to Photos, Files, or Quick Note.
Other Ways To Take A Screenshot On iPhone 14

While using the buttons is the simplest way to take a screenshot on the iPhone 14, there are a few other methods. Open Settings, scroll down to ‘Accessibility’, tap ‘Touch,’ and then ‘Assistive Touch,’ to enable the virtual home button. Users should see a white dot appear on their screen, which opens a menu of shortcuts when tapped. In Assistive Touch settings, tap on ‘Customize Top Level Menu‘ and tap on any option to replace it with ‘Screenshot.’ Now, users can take a screenshot just by tapping on the virtual button and selecting the ‘Screenshot’ option. For an additional method, in the same settings menu, scroll down to locate ‘Back Tap‘, and set either ‘Double Tap‘ or ‘Single Tap‘ to take a screenshot just by tapping the back of the iPhone. Users can also take a screenshot with the help of Siri. All they have to do is wake the voice assistant by saying “Hey Siri,” followed by the command, “Take a screenshot.”
For users who want to take a screen recording on their iPhone 14, the first step is to ensure that screen recording is available in Control Center. To do this, open Settings, tap ‘Control Center‘, and select ‘Screen Recording‘ under ‘More Controls.’ Now, swipe down from the top right corner of the iPhone 14’s screen to open Control Center and tap on the screen recording icon (a large dot within a circle), and wait for three seconds for the iPhone to begin the recording. To stop the recording, tap on the red status bar at the top of the screen and tap ‘Stop.’ The screen recording will be saved to the Photos app on the iPhone 14.


