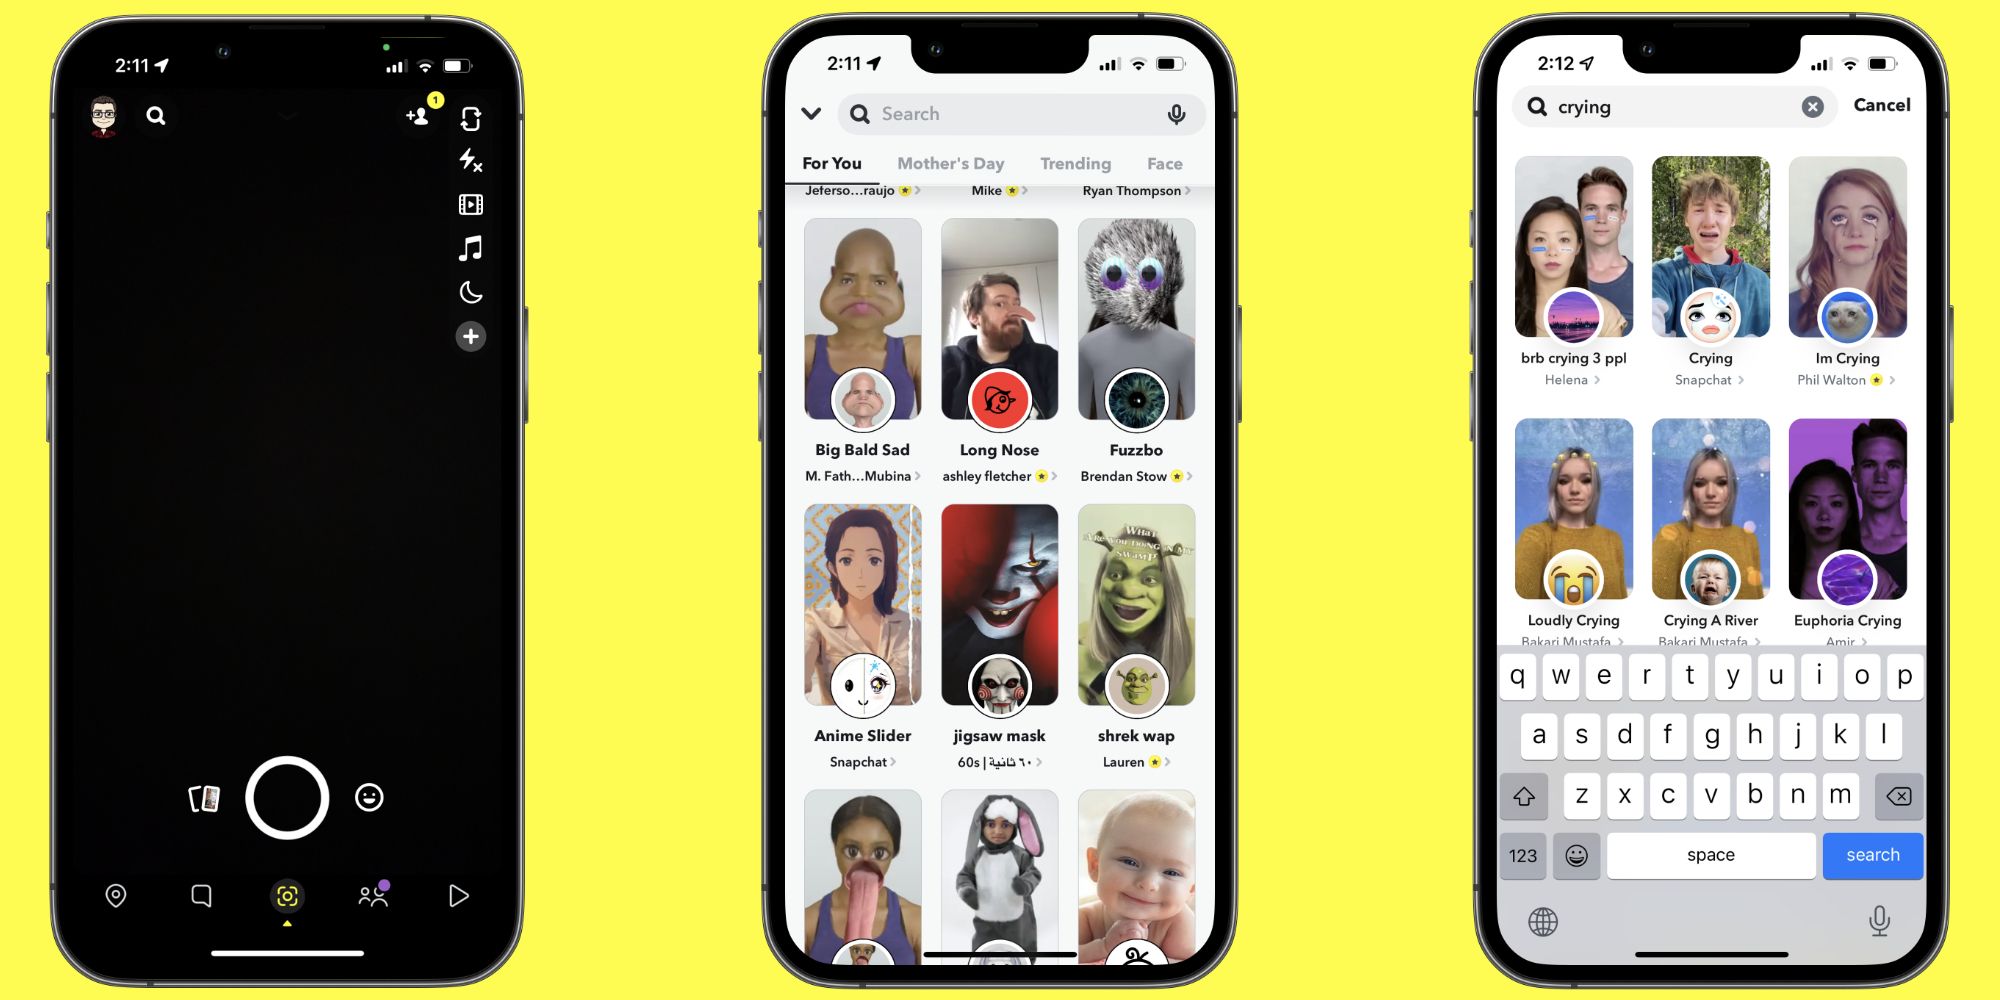
Snapchat is among the most popular photo and video sharing platforms worldwide. Users can send and receive text messages, personalized stickers, and links to YouTube videos on the application. Among other features, Snapchat also enables people to use Filters while clicking Snaps. Usually, Snapchat keeps circulating different Filters on the application. However, if users want, they can create their own Geofilter.
To clarify, Geofilters are Snapchat Filters available in a specific geographic location. Snapchat allows the creation of two types of Geofitlers — Community filters are associated with a school, college, or company, and personal filters that individuals can create for smaller events like someone’s birthday, wedding and more. Such filters are often used by companies, brands, businesses, and even production houses for promotional purposes as they bring in audience engagement.
To create a Geofilter on Snapchat, head over to the official Snapchat website and click on ‘Filters & Lenses’ at the top of the display. Then, locate ‘Filters’ in the section and click on ‘Create Now.’ After that, users will get several options to create and customize their own Geofilter on Snapchat, including the option to select the overall theme of the filter from options like birthday, baby shower, weddings, the prominent color, the text that will appear in the filter, and other elements like emojis or stickers. All the options to create and edit a filter will be available on the right side of the screen.
Create Or Upload Your Geofilter On Snapchat

Those who have already created a filter using a third-party application can simply click on the option ‘Upload Your Own.’ Once users have created/uploaded their filter, they should click on ‘Preview’ to see the filter and then click on ‘Next.’ In the following section, users will be asked to enter the time and date for which they want the filter to be live on Snapchat. Enter the desired time and click on ‘Next’ to select the geographical area where the filter will be accessible. Users can choose the geographical region manually or enter the address in the search bar on the top.
While selecting the region in which users want the filter to be live, they should keep an eye on the top right corner of the display as that is where the estimated price of the filter shows. Once done with the location, click on ‘Checkout’ at the bottom right corner of the display and enter the required details such as personal email address, usage type, filter name, and payment details. After filling in the details, click on submit and wait for Snapchat to approve the filter. Once the filter is approved, and the payment is processed, it will be live on the assigned date.


