The hardest mission in Division 2 is by far the Dark Hours raid. As of today, the hardest difficulty is Normal with harder levels to come with the Warlords of New York expansion coming in March. This raid still has newer players attempting to beat it to get a crack at the famous Eagle Bearer. If you’re new or even a hardened vet, we’ll make sure there’s something useful for anyone trying to get the raid completed.
We’ll talk a lot about the mechanics of the raid more than the gear needed for the attempts and the reason for this is because the agent level cap is going up to level 40 and with it comes better and stronger gear. Stats such as Damage to Elites will no longer exist and for the moment, they are vital to completing the raid but won’t be a factor after March 3rd. Concerning gear, the most important thing to know is to have a build that has a very high DPS. An agent might feel they do already, but no matter what skill level or playtime reached, there are always improvements to gear that can be made. The entire raid is a DPS check so if you’re having trouble, get more DPS, simple as that. With that, on to the walkthrough.
Boomer Fight in Division 2
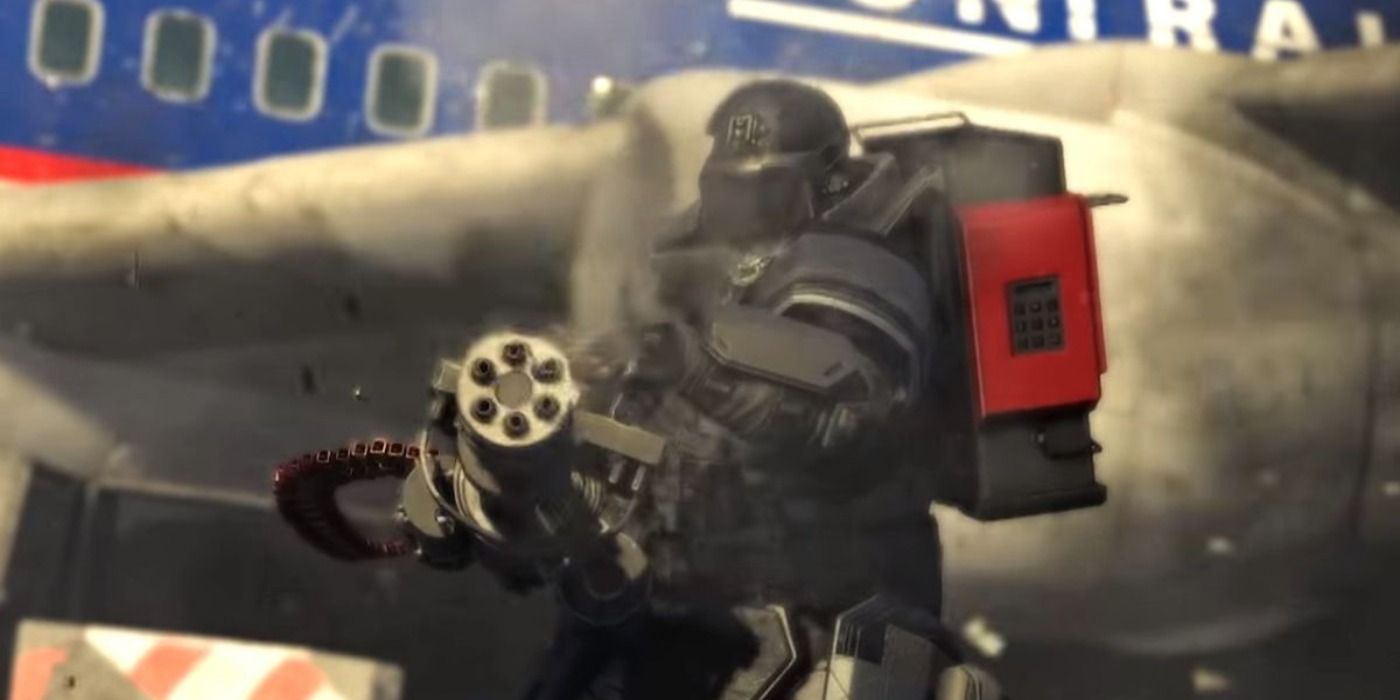
From the start of Dark Hours, the agents will run down a tunnel that leads to an upper level which is the airport tarmac. One this area is clear of enemies, the door at the far end will open and upon going through, this is the area the raid squad will fight Boomer. There are multiple facets to this area that need to be respected. In the Normal mode for this raid, there are four nodes that have a blue field around them that once enemies enter the field, they become immune to any damage. These nodes can be taken down by the Turrets are doors 41 and 45. Do not shoot them down just yet. This is a time to make sure that all preparations are in order before beginning and also a great time to strategize.
There are many ways to do this fight, just like the next fights as well, but we’ll focus on one proven method that has been successful. A big key to this fight is to not get overwhelmed by the enemies roaming around the room. Have dedicated people at each turret, one agent protecting those people at the turrets, two agents at the laptops in the middle of the room, one agent killing any enemies as quickly as possible and finally, the last agent grabbing Boomer’s attention to be able to grab him and bring him to either turret. With roles assigned, the next “need to know” piece of information is once the nodes go down and the event begins, clear the room of enemies and Boomer will pop out of the metal gate between the burger shop and the donut shop. The agent responsible to grab his attention will start firing at him to make sure that a red-eye is on top of him. This designates who Boomer will target and follow. At this point, this agent will bring him to the turret at door 41 and make it so Boomer has his back to the turret. Here, the team is looking to get Boomer to become staggered. To do this, his backpack must be hit and it can only be done by the turret on 41 and 45. The first attack needs to be at turret 41. Once the agent on 41 has put Boomer to his knees, all agents need to make sure they are attacking Boomer’s head. Put as much damage as possible on him and once enough has been done he will rise and continue targeting someone with the red-eye, preferably the original person who was doing this job. While this is happening, the entire team needs to keep the area clear of enemies so continue plugging away.
Soon after Boomer gets dropped the first time, there will be an alarm that will sound out. This signifies that the nodes will rise back up unless the correct laptop(s) are pressed. If they are not pressed, the nodes will pop back up, enemies will become invulnerable making this fight much harder. To know which laptops need to be activated, there are television screens on the four pillars in the center area which show which one(s) need to be pushed. During this time as well, Boomer’s chest piece will start to heal him. The chest piece must be shot by anyone in range to destroy it when it turns green. The agent who gets Boomer’s attention needs to bring him to turret 45 and the process repeats. Destroy his backpack, then shoot him in the head.
This fight runs by going in a circular motion going from turret 41 to 45 and back around again. With this in mind, the entire team should follow this circular pattern, killing other enemies on the way. As the fight progresses, more computers need to be pushed to keep the nodes down. A big key to this fight is communication. Agents need to let everyone else in the group know when Boomer is almost ready to go down to his knees, which laptops need to be pushed and when to shoot his chest among other items. The more communication is had, the better this fight goes. Once he’s down, time to move on to the next fight.
Weasel Fight in Division 2
The Weasel fight is not as complicated as the Boomer fight but there are still important details to pay attention to during this encounter. This fight has two sections to it, the A and B sides. It’s easy enough to split the raid into groups of four where each team should have an even amount of DPS between them. The reason being is that his lieutenants Ricochet and Dizzy come out to meet the teams first. Ricochet will be on the B-side and Dizzy on the A-side.
An important fact of this fight is once the teams are on their respective sides, they will be split by a plane. This plane has three panels in the center of each side and these are to keep a health depleting gas from killing all agents in the raid. To do this, a dedicated agent must be set for each set of panels on each side. Once the panel on a given side is lit, the side that has it lit needs to let the other agent know that the panel the other needs to press to turn off the gas. Both sides need to press the same panel at the same time. For example, we’ll say the panel at the front of the plane is lit on the A-side. The agent on the A-side will call out the front panel is lit and both the A and B agents manning the panels will push them at the same time. This deactivates the gas and saves the team.
The gas also has a dual effect where if the gas is orange, damage can be done to enemies and if it’s purple, it’s a time to heal as very small amounts of damage can be done. The gas effects only truly take effect when Weasel comes out and to do this, Dizzy and Ricochet need to die at almost the same time. If one stays alive and the other dies, Ricochet will still come out but the fight gets exponentially more difficult. Repeat the process of turning off the gas and attacking when the orange gas is out and this fight is over in no time.
Buddy And Lucy in Division 2
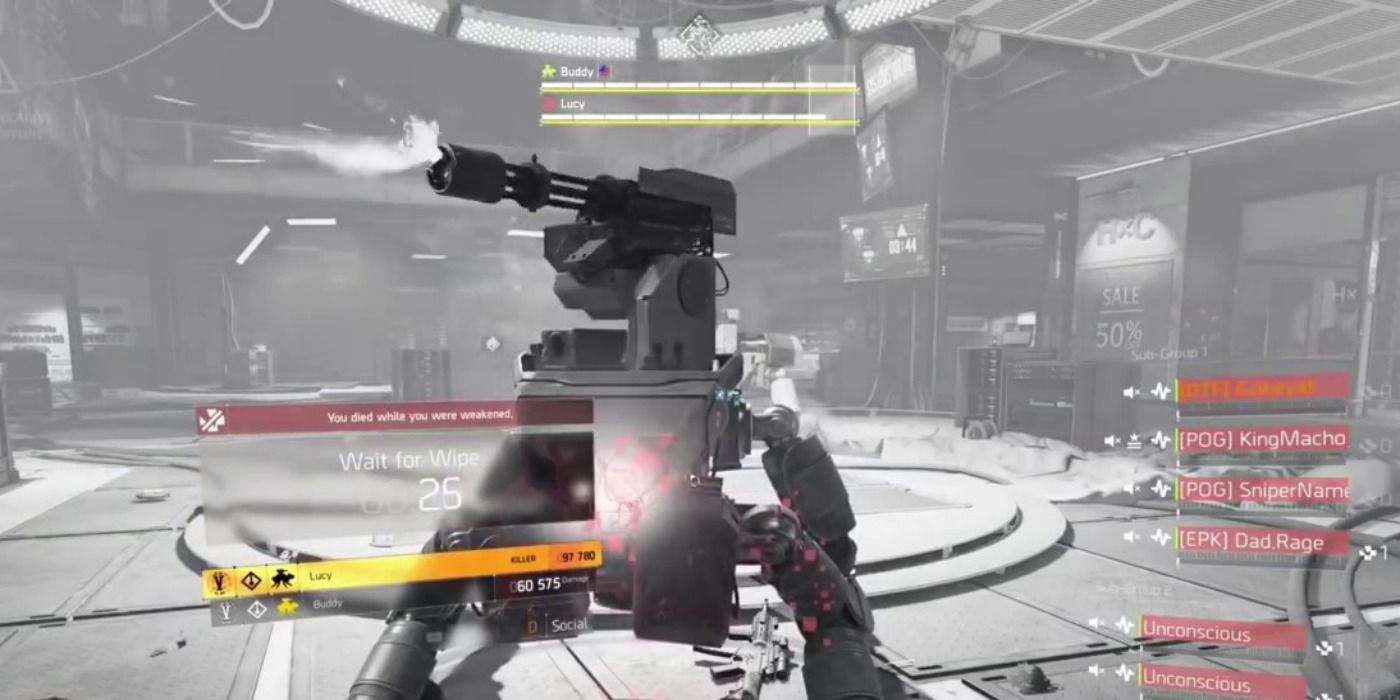
Just like Dizzy and Ricochet, Buddy and Lucy is a fight that has a lot to do with timing. The key part of this fight is their separate life bars. At the start of the fight, there’s a white semi-transparent box on the far right side of the life bars. What needs to be done is to damage each Robo-dog enough that the box stays white and doesn’t turn red. When it turns red, that means that one of the dogs has too much, or not enough, damage on and they will rush to the center of the room to heal each other. Each dog has a couple of attacks that need to be either avoided or countered to be successful.
For Lucy, she has a 360-degree gun attack that will kill any team members in one hit. This attack will start when Lucy hunches down. Along with this visual cue, there is an audio one as well where an air compression sound will alert the agents to this attack. It can only be avoided so when either of these two cues happens, agents on the Lucy side need to let everyone in the raid know that the attack is coming and to take cover or risk death. She will also launch mini-missiles which do a ton of damage so using cover is a strong ally against her.
Buddy has seeker mines and a poisonous gas cloud that can put a hurt on agents if they’re not ready. Buddy hunches down like Lucy when he wants to release his seeker mines. This is a great opportunity to shoot and destroy the mines. Most importantly, Buddy has an overheal which triggers after Lucy does her 360-degree gun attack. This is when tons of damage needs to be done to keep the two life bars close together.
This fight should also be split into two groups with more damage going to Buddy’s side as the overheal needs to be mitigated. Two teams of four or having three agents on Lucy only can work as well. The fight is triggered by hitting a button at the far gate from the entrance. The two dogs will go to the center of the room and one thing to pay attention to is from the center of the room there are two laptops. One affects Lucy and the other Buddy where the person pushing the button on the laptops gets an eye that taunts one of the dogs.
It’s important to bring Buddy to the blue side and Lucy to the red side. Great cover areas on the red side are the counter behind the bar or inside the red shop. For Buddy, the best cover is to go inside the shop on the blue side because when Lucy does her 360 attacks, the middle pillar can block her shots and the team on the Buddy side can continue attacking Buddy if necessary. This is why each dog gets pulled to one side, it’s really to continue the attack on buddy due to the overheal. Once both dogs are dead, it’s on to Razorback.
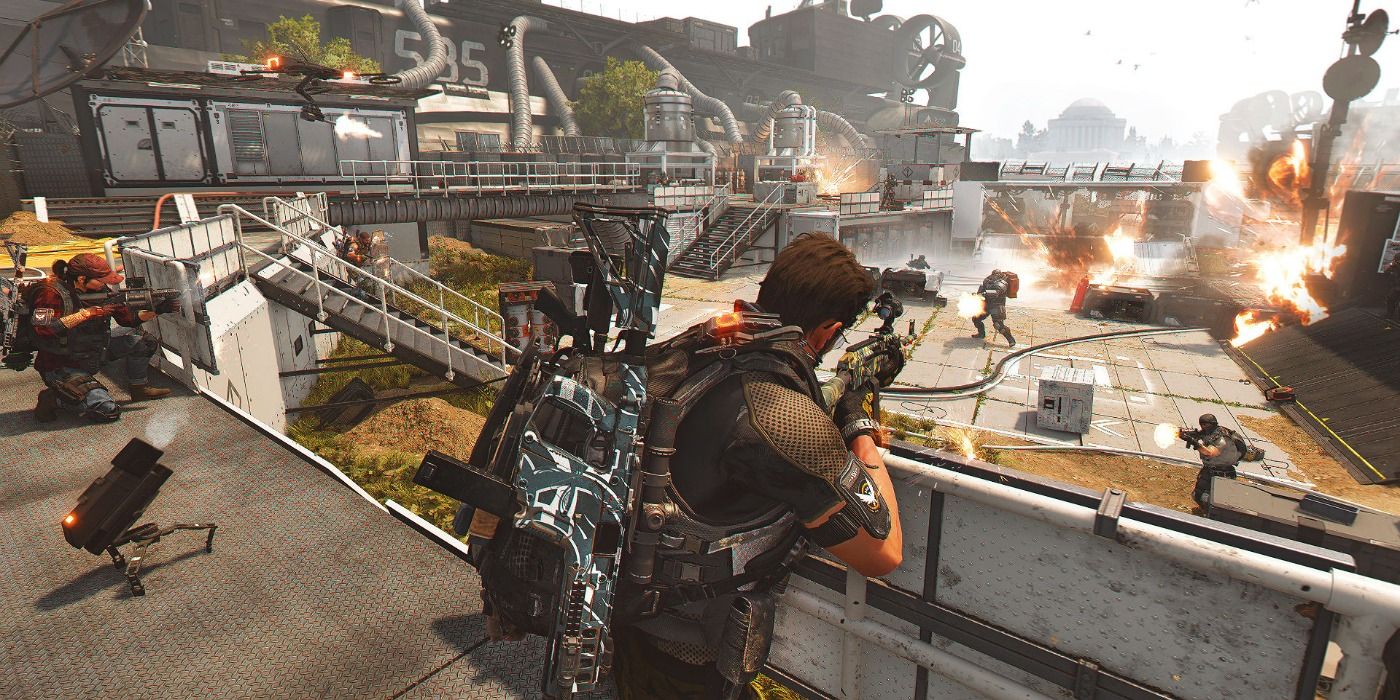
Razorback Fight in Division 2
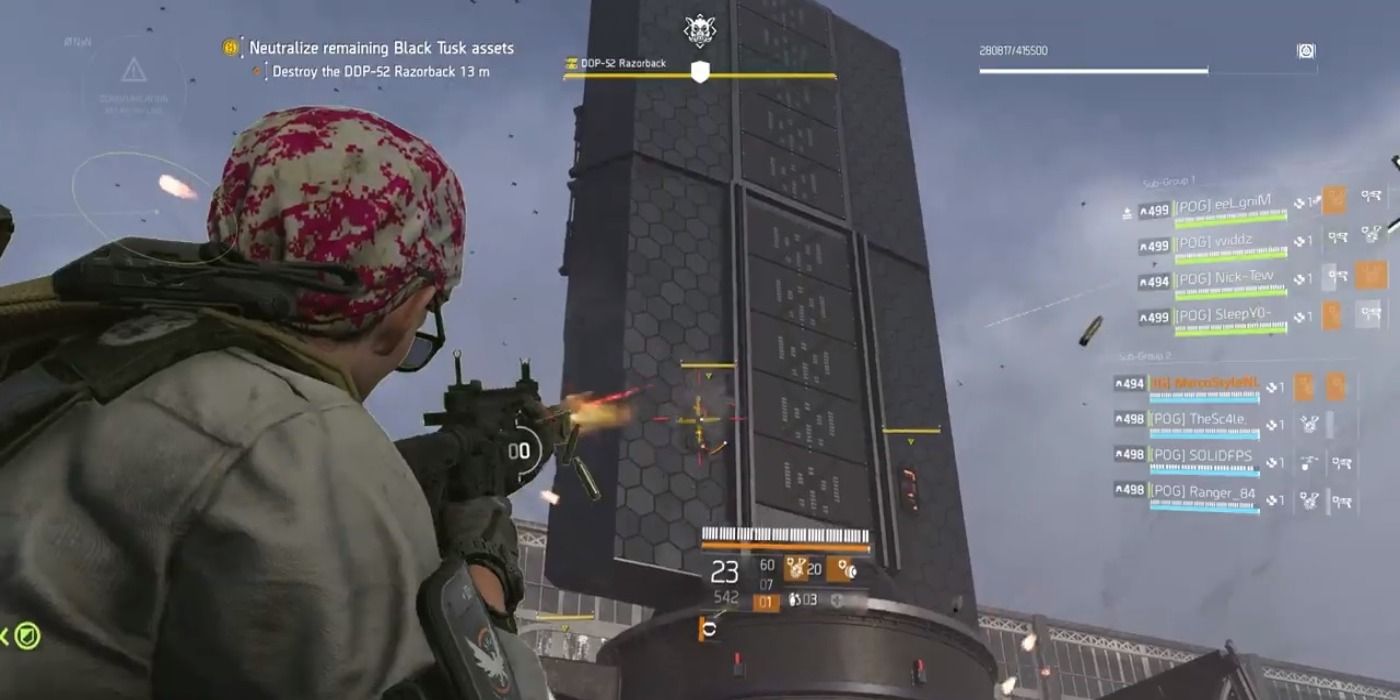
The Razorback fight is a multi-stage fight. It’s similar to Boomer in so much as there are multiple elements to keep track of at the same time. Upon dropping into the area, the team is in an instant firefight with some elite enemies. Once they are dispatched, this is a time to set up positions on Razorback. The area is split into four quadrants and two agents need to be in each quadrant, one for the generator and another one to take out enemies. Each quadrant is labeled by a number that can be seen around the area in the middle section where the actual Razorback enemy is. The key to this fight is that each quadrant has a generator.
The generators are the first step to opening up Razorback to allow damage to be done. The way they are used is that one agent from each quadrant needs to jump in the white dotted circle surrounding the generator at the same time. Communication is vital at this point to get in successfully as any misstep can cause rockets to hit the generators if the percentages are off by too much. A percentage will appear above the generators up to 100% and once all generators have hit 100% at the same time an opening will appear at the front and back of Razorback. These openings will have a red hue to them and need to be opened up with a Special Weapon Crossbow Bolt. Using a Bolt destroys the panel in one shot which allows enough room to throw a Concussion grenade in the opening. Once a grenade is put in the front and back openings, Razorback’s side panels will open. These side panels are found on both the back and the front of Razorback. It’s recommended to attack the front panels first as the back panels are quicker to destroy. Once the left and right panels on the front of Razorback are destroyed, the actual main tower will open up and damage can finally be dealt to Razorback’s health up to 25% at a time. This process needs to be done twice on the front and twice on the back.
While this process is occurring there are slews of enemies coming out from each quadrant along with a mini Boomer who attempts to reach a rocket launcher station capable of killing everyone if he manages to hit the button on the launcher. The quickest way to kill these boomers is to shoot them in the butt where there is no armor. Let’s not forget there are also Robo-dogs primed to kill the team from one quadrant to the other.
Once Razorback’s health is depleted, each quadrant has to have those same mini launchers become a pile of rubble. Both agents need to race to their respective launchers and shoot the blinking red panel when it appears. Not destroying it fast enough will cause the launchers to shoot their missiles and kill everyone. Once all four are destroyed, it’s time to celebrate as the raid is now completed and with enough raid keys, a chance for the Eagle Bearer Exotic Assault Rifle.
Division 2 is available for Playstation 4, Xbox One and PC.